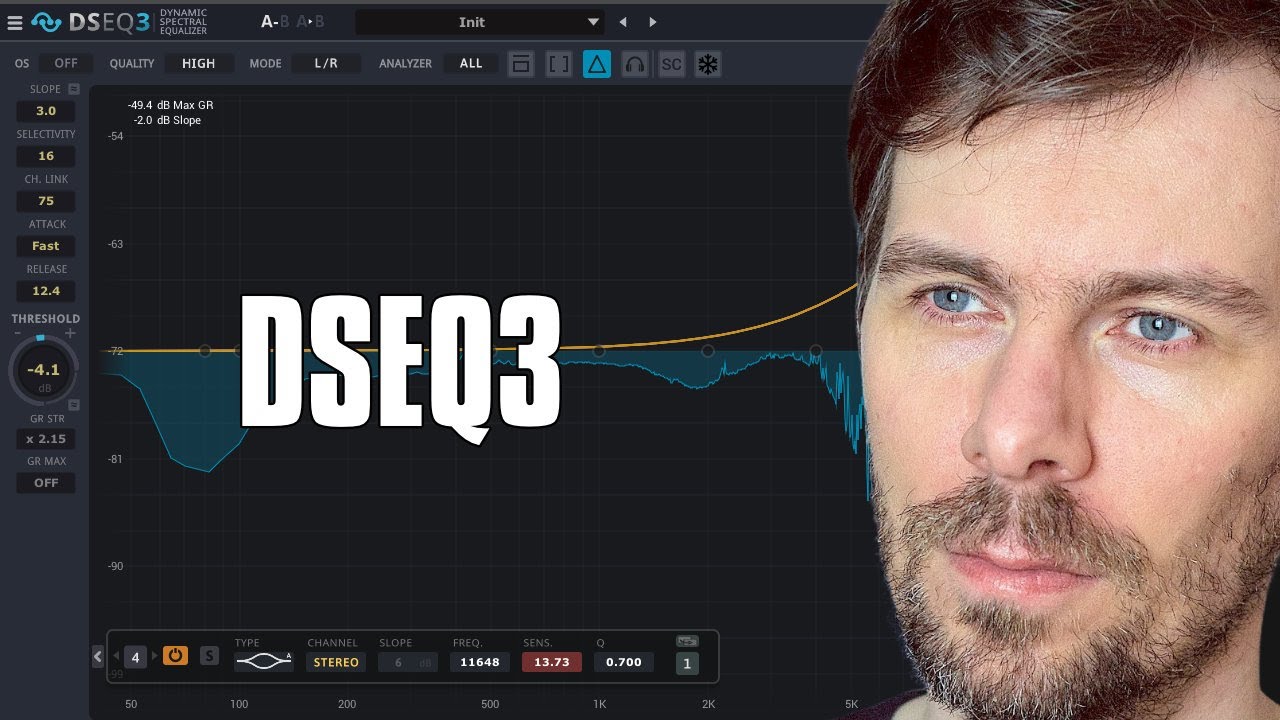
Bitwig - 4 new spectral devices
tutorial | Okt 05, 2022
In the video, polarity describes the new spectral devices in Bitwig Studio and how they work. The devices split the signal into different frequency ranges which can then be processed with VST plugins or audio effects. Polarity provides several examples of how the devices can be used to create different sounds.
You can watch the Video on Youtube
Transcription #
If you don't want to watch the Video, or search for a specific topic, here is the transcription of the video with links to video markers:
[00:00.000] Hey folks, welcome back to another video.
[00:03.520] Today it's about the new spectral devices of Bitwig Studio and you have to buy them
[00:08.760] separately from your currently running Bitwig license.
[00:13.680] And we have four new devices called Frequency Split, we have Transient Split and we have
[00:20.720] Harmonic Split and we have Loud Split.
[00:24.400] And all of these devices work kind of in the same way because they work in the spectral
[00:28.960] domain and they also split the signal into different FX boxes as you can see here and
[00:36.640] you can then treat these individual boxes with VST plug ins or audio effects from Bitwig
[00:42.800] Studio of course to tweak your audio signal.
[00:47.120] Everything is live or in real time but you have to make sure that you watch basically
[00:53.880] your latency on the left side because some of these devices introduce a lot of latency
[00:58.760] so it's probably pretty hard to play piano while filtering here heavily signals, okay?
[01:07.600] So a short overview of what these devices do and how they work because they kind of
[01:12.560] work in the same way.
[01:14.600] So we have on the left side always a graph where you can change the analysis part of
[01:20.120] what you want to select from your audio signal and then we can also change where all these
[01:26.600] selected parts go, for instance here the red lines are selected frequencies that go into
[01:33.400] the red box.
[01:35.040] Everything that's blue in here goes into the blue box and everything that's red, yellow
[01:39.560] goes into the yellow box and so on.
[01:42.080] And then you can tweak basically this graph here and change what gets selected so we can
[01:48.480] use this dot here and move around and you can see the blue zones under the yellow zones
[01:55.360] move over your frequency spectrum which says the content in here changes so you select
[02:02.160] different parts of your frequency spectrum and then you can treat this here differently
[02:06.560] and then you get some nice effects.
[02:09.520] For instance without using here any additional devices you can make a nice frequency spreader.
[02:17.520] So let's say we split your signal into four bands so you can see we have four but we increase
[02:23.960] this to maybe 190 let's say.
[02:30.320] So everything that's red in here, every red line goes into the red box so we say everything
[02:35.480] that's red, every red frequency goes to the left channel, everything that's blue goes
[02:40.360] to the right channel.
[02:41.360] So we have a nice stereo effect or we filter out everything that's not red so maybe switch
[03:02.440] this here to post as you can see we have now some kind of filter here.
[03:29.320] So without using any additional devices here it's just a filter, it's kind of a filter
[03:34.800] where you can select frequencies and make pretty steep cuts actually.
[03:40.480] So for instance here I made a preset for that that you can download in the Bitwig library.
[03:45.720] It's called a spectral filter and you have here a remote control and you can move between
[03:53.160] low pass and high pass.
[04:07.040] You can see here it's a pretty steep cut right because it's spectral and it sounds a bit
[04:11.760] unnatural and if you don't like that then you have to probably use a normal EQ or you
[04:18.360] can use here the crossfade amount and the crossfade amount basically takes in more surrounding
[04:29.000] frequencies and make the slope a bit more smoother here.
[04:41.440] Okay then I have here a spectral panel.
[05:08.120] So it's basically everything a frequency goes to a different box and then I have some diffusion
[05:20.240] on there and you can move it around and yeah a lot of options actually to make the signal
[05:26.520] wide.
[05:27.520] So maybe bring this here back to the default.
[05:35.560] So yeah all these devices work kind of in the same way.
[05:39.120] You tweak the graph what goes into the boxes and then you use the boxes and tweak the signal
[05:44.160] even more.
[06:06.120] You just want to put distortion on the transients on drums you can do that here pretty easily
[06:11.840] and here again on the left side you can tweak basically what gets selected or how the analyzer
[06:17.920] works.
[06:18.920] You can also prefer here for instance attack sounds or the tails and then there's also
[06:27.360] your blend.
[06:28.360] You can only listen to the transients here or only to the tonal parts and blend between
[06:36.960] the two.
[06:37.960] It's basically the same as just putting this down or you know it's just one knob for both
[06:45.040] volume knobs and then you can use it the transient box and the tone box right.
[06:50.760] So probably nice on drums but also maybe on piano sounds where you want to soften the
[06:56.520] piano attack maybe or something like this.
[07:00.440] So I'm pretty sure you come up with some nice ideas.
[07:04.920] Here we have a harmonic split and harmonic split it's all about harmonic content.
[07:10.080] So you have like a box here for the fundamental frequencies, harmonics and the nonharmonics
[07:15.680] which is probably noise or something that's not tonal.
[07:19.320] So you can remove all the noise from your sound here.
[07:33.560] You can only listen to the noise parts or only the fundamental frequencies and there's
[07:44.160] also your filter.
[07:45.680] You can say you want to have the fundamental and also every fifth harmonic for instance
[07:54.880] and then here in this box goes everything that's not every fifth harmonic.
[08:02.960] Then you have some threshold here and also low pass high pass to select where you want
[08:08.760] to select something and it's probably best on monophonic sounds.
[08:13.800] We have like a clear harmonic in there or harmonics and fundamental frequencies in there
[08:19.040] but can be also nice on this polyphonic content here and see what you get out of it right.
[08:30.120] There's also a threshold here and if you pull this all the way down it goes to automatic.
[08:40.080] Also on the left side you can change the maximum recognized harmonics.
[08:45.200] You can also use this as a filter if you want to.
[08:47.680] Maybe I'll show this later with a polysynth and also your spectrum display goes to post
[08:52.760] and pre and I think all of these devices have spectrum display pre and post.
[08:58.840] Okay, then we have here the last one is called loud split and as the name says it splits
[09:05.880] the signal to loud and quiet parts and also everything in between so you can say I want
[09:12.240] to listen only to the quiet sounds and everything that's quiet is below the threshold here
[09:23.960] and then you can say you want to amplify these quiet signals make them louder if you want
[09:31.880] to or turn down the loudest parts and see what you get.
[09:44.800] So again here you can select or change how this device selects frequency bands, you can
[09:50.560] also change it to smoothing, you have a relative loudness mode and an absolute loudness mode
[09:56.480] can change the fall off of what gets selected so it's not so much spectral sounding so you
[10:03.400] can smooth this out if you want to.
[10:05.240] There's also a tilt here where you can change the tilt of the EQ curve before the signal
[10:10.320] goes into the analyzer to tweak it even further and then you can put here of course again
[10:16.880] something on the loud parts only maybe distortion on the loud parts or only limiter on the loud
[10:21.760] parts and just leave all the mid and quiet parts alone out of the equation, out of the
[10:28.120] distortion, out of the limiter if you want to.
[10:31.640] So a lot of possibilities to actually select frequencies and treat them or treat them.
[10:42.600] So here I have a Phase 4 synth of Betwick Studio and some modulations already on there
[10:48.760] so it's a bass sound.
[10:54.560] So nothing special and we can use here a frequency split and just select some frequencies so
[11:04.680] maybe let's say we want to keep the bass in here after splits at 4 everything at 0 more
[11:09.520] or less.
[11:10.520] So we want to keep the bass in and this is only the sub and maybe here let's say the
[11:18.360] yellow ones.
[11:39.120] To the right you can use then here a ramp and maybe use this as a spectral filter and
[11:43.520] it has this nice spectral sound if you like that actually.
[11:50.840] So back in 4 is basically this one here or maybe use a step mod here actually using step
[12:02.280] mod, something like this and then use the smoothing.
[12:20.040] Maybe clone this here and modulate here this one.
[12:43.240] Maybe use the spectral limiter and then cut the limiter at the end here.
[13:03.840] So you can see just here with the spectral limiter you can balance out a bit of the noise
[13:12.600] you create maybe here with phase 4 and then act on that.
[13:37.720] Maybe a little different sound here let's see.
[13:50.560] So yeah it's nice really nice for these type of bass sounds of course you get these steep
[14:14.360] cuts right these typical spectral steep cuts in the frequencies.
[14:23.280] Okay in this example you have one of my generative patches.
[14:30.640] Just playing some bells or some random sounds and then you can use your loud split and just
[14:40.640] select mute everything the quiet parts here in the middle parts just the loud parts and
[14:47.280] then everything that passes this line gets submitted to this loud box here instead of
[14:58.640] everything and only on these rare occasions you just put your reverb.
[15:21.480] So you can use this basically as a frequency selector and only put everything that's selected
[15:27.800] in here to a reverb instead of the whole complete signal right maybe put a delay on that or
[15:44.840] put a different delay on the mid part or reverb on the mid part.
[15:57.240] So these devices make a lot of sense if you combine this of course with the rest of the
[16:01.480] equal system of Bitwig studio so now we have on the loud parts here of these on this one
[16:27.480] this is the quiet parts here so yeah we can leave them out maybe change the rise signal
[16:44.880] or the rise part so the tech phase is not that hard and the fall off it's basically
[16:58.760] when a signal passes this line here how long it takes to pick up the rise and how long
[17:04.760] the frequencies persist after it doesn't exceed anymore and fall off then we can smooth out
[17:13.320] or make it completely percussive so in this example here we have some drums
[17:39.080] by Addictive Drums.
[17:57.360] And maybe let's listen to the quiet parts here so we can just mute this and make it
[18:16.400] quiet or completely remove the noise.
[18:43.520] So it's nice to remove some noise from jump sounds, jump samples just by using the threshold
[18:50.080] and muting the quiet parts, maybe put the distortion only on these on these parts.
[19:17.080] Or maybe a transient shaper.
[19:37.880] So a lot of interesting possibilities to actually try out and see what comes out of it.
[19:46.240] So let's try out your transient split on these drums and I play around here with the blend
[19:52.280] between transient and tonal part and maybe also here with the analyzers part and you
[19:58.600] can see how it sounds.
[20:23.880] And there we have it.
[20:47.440] So reverb only on the tones and the transients get some distortion.
[21:35.600] So a lot of possibilities also in this but this device.
[21:39.520] Okay so here we have some vocals, we can see here the fundamental and all the overtones
[21:54.240] the harmonics, we can say now remove the harmonics, only listen to the overtones here.
[22:18.560] And then you can use your maximum harmonics and can say we only want to have the first four
[22:28.960] overtones or five. You can see now we have only the first or the second overtones here.
[22:47.920] Or switch it off.
[23:04.880] So now we can put maybe here reverb only on the harmonics and leave the fundamental completely
[23:10.880] untouched. And also all these breath, sounds, noises and so on you leave completely out of the
[23:29.680] reverb. All this stuff. So only the clean harmonics go into the reverb. It's probably better than just
[23:44.800] using a pre filter, pre low cut and or high pass low pass. Yeah so nice use case for that. Then we
[23:56.960] have the fundamental here of course, we can do something with that. For instance we can use a
[24:01.440] tree monster. And the tree monster basically tries to find a sine partial or a root fundamental
[24:12.080] frequency in a voice. But here we clearly just deliver a clean sine wave to begin with. So it's
[24:20.000] just a sine partial right. Super clean. So we pitch this down one octave.
[24:33.040] So we get these vocals, we get the fundamental frequency,
[24:36.800] recognize this for the tree monster, pitch the sine partial down and then maybe mix it with the
[24:41.440] original. It's almost like a second singer that sings in the background just one octave lower.
[25:04.160] Then we can do some fun things. For instance because this is a clean sine partial,
[25:12.240] can use your note grid. For instance in there. I haven't tried this before.
[25:20.320] Delete this. We need an audio in. So we get this clean sine partial here right. We get this.
[25:26.240] And then we can use the zero crossings module. Basically takes in a sine partial and turns
[25:36.480] it into a frequency because it measures the distance between one zero crossing to the
[25:41.200] next zero crossing, which is then probably the frequency. We put this out here to a note out.
[25:47.520] And we also use a follower, an audio wave follower here. And we use this as a trigger for the gate.
[25:57.920] And because it's probably too low in signal, we use a gain in front of that. And then we can use a
[26:06.240] Poly center at the end. Let's try this. I just want to hold you close. Close to me.
[26:25.120] I just want to live with you. Don't wake me up from this fantasy.
[26:32.960] Not perfect. I just want to feel your touch once again.
[26:47.840] I just want to be with you. You probably have to mix this here with the original signal.
[26:54.240] It's actually not possible, right? I just want to hold you close. Close to me.
[27:10.880] Yeah, it gets in the right direction.
[27:12.800] Not from this fantasy. I just want to feel your touch once again.
[27:27.520] So we can mix this here or as with the original signal, maybe put your reverb on this.
[27:33.600] Not from this fantasy. I just want to feel your touch once again.
[27:53.600] I just want to be with you. Yeah, it's not perfect, but with a bit of filtering, maybe
[28:00.320] finding the sweet spot you can make something like this happen. So yeah, that's it for this video,
[28:06.880] I think, just to give you a rough overview over all these devices and what you can do with it.
[28:12.080] So there's a lot of potential and there will be probably a lot of more videos on this channel.
[28:17.280] And there will be also for each individual device a video on my Bitwig guide channel,
[28:23.520] where I go into these parameters, what they do, and I will upload these videos in the next days.
[28:30.240] So there will be also probably a lot of informational videos on the Bitwig channel itself.
[28:36.560] I also put a link in the description, but you probably already saw these. And I will be streaming
[28:42.960] today, probably. So yeah, maybe leave a like and also subscribe to the channel. Thanks for
[28:50.640] watching and I'll see you in the next video. Bye!