Music Production Knowledge Backlog
Here you can browse the latest published tutorials, guides, tools, articles, music posts, videos, and releases in one timeline. If you want a smaller overview, start with Polarity Music tutorials, Bitwig guides, Building Bitwig Grids, helpers, articles, music videos, releases, or the music hub. If you want something specific, use the search.

Book of Bad Ideas but as a Website. A collection of modular techniques, tips and tricks for sound design or music production. Use it with eurorack or modular synths. Bitwig, VCV rack or similar.

In this video, I wanted to create a generative grid patch using samples instead of oscillators, which I had never done before. I recorded a kalimba using my microphone and then cleaned it up with a loud split and an outer leveler. I then used it in a polygrid and triggered it with a dice module in free mode, adding notes with a step mode and quantizer. I also added modulation, filters, and delays to the sound. I then added a bass shot and a melody using a sample note. Finally, I randomized the melody and adjusted the balance and frequency using a cool force. I created a backdrop for an ambient tune and provided a link to the patch in the description.

Generative-2023-05-24 but tuned to ambient In the neon-lit heart of New Angeles, amid an amalgam of futuristic technology and ...

In the year 2135, the city of Neo-Tokyo was a neon-lit labyrinth, a cybernetic sprawl of towering skyscrapers, holographic ...

In this video, I showed how to create a hypersaw sound in Bitwig Studio without using an oscillator with a unison feature. I used the polymer synthesizer and modulated the pitch and panning using the random mod. I also used voice stacking to create a dense sawtooth sound. To create the typical ray fleets, I modulated the note with the root, seventh, fifth, and two octaves lower. I also demonstrated the use of other oscillators like the wave table and the swarm oscillator to change up the sound. Multiple notes are necessary to achieve the desired effect. Overall, this is a simple and easy way to create a hypersaw sound.

On a stormy evening, as rain poured relentlessly from the charcoal sky, Ava found herself standing on the outskirts of the city, a hidden meadow untouched by the mechanical tendrils of progress.

I opened up Bitwig Studio and had no plans for what to do today. I started experimenting with the new sampler and found it was great for sampling my voice and other sounds. I also used the convolution reverb to create rhythmic noise convolutions. I explained the pitch hurts module and demonstrated how to use Poly Grid to create melodies. I added some effects and a supermassive to create an underlying drone sound. The track doesn't make sense, but it was a fun experiment.

In the video, I demonstrate how to use a Scrawl feature in the software tool. By utilizing the Poly-Grid and various modules like envelopes and audio outputs, I show how to draw shapes that generate unique sounds. Drawing slowly creates high-resolution dots, while drawing quickly decreases the resolution. I explain how to manipulate the shape by selecting and adjusting its properties using the value and histogram features. The chaos slider allows for randomization, resulting in complex wavetable-like shapes. I showcase techniques like duplicating shapes, mirroring, scaling, and combining the Scrawl with oscillators and filters. I mention the potential for creating dubstep-style baselines and encourage viewers to explore the tool's features to generate their own unique waveforms. Finally, I remind viewers to save their favorite waveforms and invite them to like, subscribe, and stay tuned for future content.

In this video, I explain how to make a physical modeling synth in the Reason software. Physical modeling is a way of replicating real-world objects in a synth by modeling their resonances and frequencies. To start building the physical modeling synth, we need to introduce an exciter and use multiple bandpass filters. The resonance frequency of objects is specific to their material, and the frequencies of the overtone change with time. We need to introduce envelopes for each overtone that changes over time. We can use multiple partials and tune the frequencies of the bandpass filters to replicate specific objects' resonances. Loudness is also crucial, and we can use multiple envelopes for each harmonic. We can use a comp filter or use a ratio knob to target specific harmonics. Alternatively, we can introduce all harmonics and remove the ones we don't want. It's an intricate process, but the result is worth the effort.

In this video, I explain how to get different sound sources from within the Bitwig Studio grid onto separate channels for mixing. I start with a generative patch with multiple sound sources mixed together, and demonstrate how to separate the percussion and funky bass onto separate channels. To do this, I use a hack that involves cutting off the percussion audio output, creating an FX layer for the rest of the sum, using a stereo split, and then utilizing modulation to transfer audio signals to separate channels. By creating separate audio tracks for each sound source, I can mix and manipulate them individually. I provide step-by-step instructions and a downloadable audio output preset for ease of use.

In this video, I show the viewers how to do vector synthesis in Bitwig's grid using the x,y coordinate pad and multiple instances of the drawable oscillator. I explain that vector synthesis involves blending between multiple oscillator shapes using a vector, which can be done with the x,y coordinate pad and multiple instances of the scroll. I also demonstrate how to use the blend modulator to fade between two inputs and give us one output waveform. I show how the bipolar mode can be used in the x,y pad for negative values and how to set up the modulation for the blend between the left and right side. I also suggest using a mod filter for subtractive shaping of the waveform and demonstrate how to set up the polyphony mode, so we can play chords. Additionally, I show how to use a vector 8 modulator, which is similar to the x,y pad, but with eight outputs. I explain how this can be used to blend between eight oscillator shapes, and how it provides more modulation for creating complex waveforms. Lastly, I give examples of how to use segments to find sweet spots for modulation and how to use wave tables for morphing the sound.

In this video, I share some exciting news about Bitwig Studio 8 track and 16 track in version 5, which will feature the grid in a new player mode. This means that users can load all my presets and generative patches in 8 track and 16 track. As it's my birthday, I will be giving away three 8 track codes for those who are on the fence about trying out Bitwig or for their friends. I will post codes in the comments, YouTube community page, Discord server, and Patreon page. Lastly, I thank all my followers and supporters for allowing me to do what I love.

In this video, I recap my previous videos on replacing VST plugins and efficient clip launcher workflows. I also share my tips on using the clip launcher and global modulators for micro-arrangement. By extending the life cycle of clips with operators and modulators, I demonstrate how to create interesting arrangements without having to draw everything in the arranger. I recommend creating a template with pre-set global modulators for easy use in future projects. The core idea is to make more out of one bar loops and to use modulation to do the heavy lifting in arrangement.
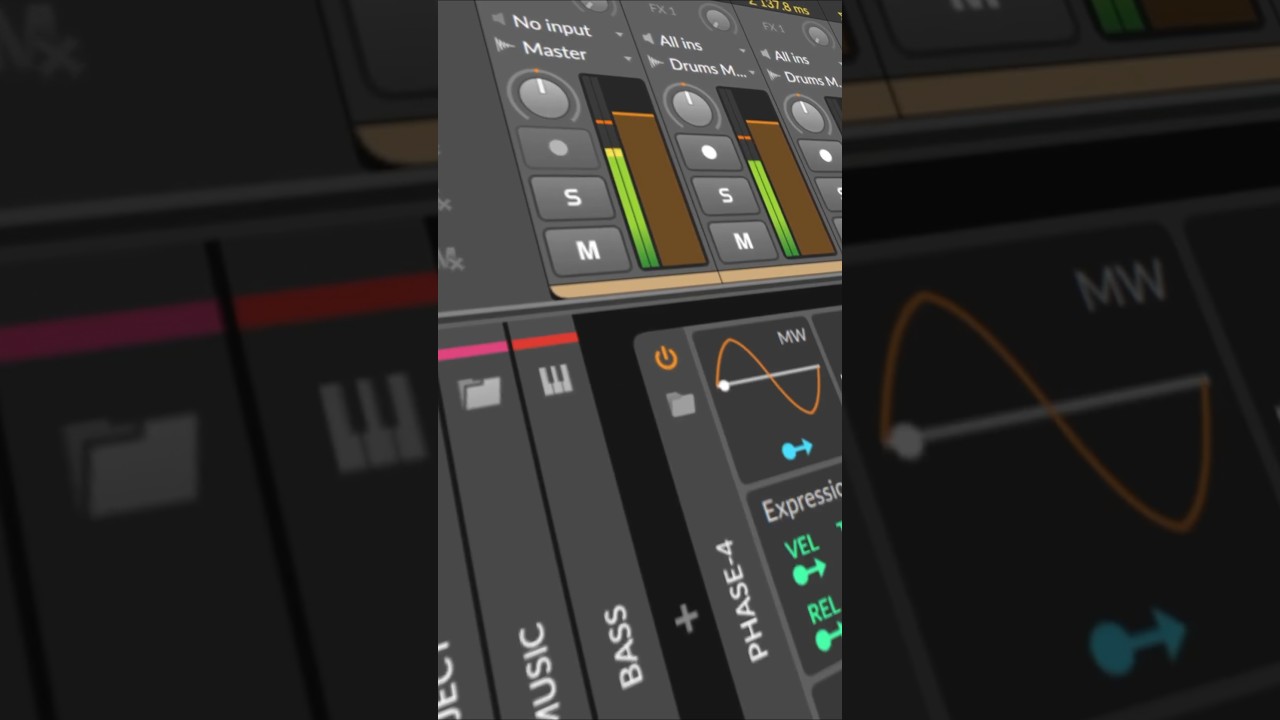

In this video, I share my process of creating risers and transitioning effects using the global modulator in Bitwig Studio. I was inspired by UJAM's final boost and Data Life's Endless Smile plugins and wanted to replicate the effects in Bitwig. Instead of using manual automation, I used the curve editor to create a ramp that gradually increases the effect's intensity over time. I demonstrated how to apply this technique to individual tracks, such as chords, bass, and percussion, to create more dynamic and interesting effects with precise control. This technique is a great VST replacement and allows for more creative flexibility in creating risers and sweeps in your music.

A faster Bitwig clip launcher workflow: use page up/down and the tab key to jump between the instrument chain and the note editor, then treat the clip launcher as an idea pool of scene variations you can combine into a finished arrangement.