Music Production Knowledge Backlog
Here you can browse the latest published tutorials, guides, tools, articles, music posts, videos, and releases in one timeline. If you want a smaller overview, start with Polarity Music tutorials, Bitwig guides, Building Bitwig Grids, helpers, articles, music videos, releases, or the music hub. If you want something specific, use the search.

In this video, I show how to create a hocket machine in Bitwig Studio using audio receivers and modulation. I use a track called "hocket" with a classic 8 modulator and multiple audio receivers that receive audio from different tracks. To prevent unwanted noise, I adjust the smoothing value when switching between audio sources. I also demonstrate how changing the playback speed, time base, phase modulation, and direction can create different grooves and patterns. I use unusual rhythms on all the tracks to create a more drastic effect. The limitation of this system is that it only has eight steps in the classic 8 modulator. Overall, this effect is easy to setup and can create some interesting outcomes in a track.

In this video, I show viewers how to use a sound design approach to create music in Bitwig Studio. We start with a generative patch to create random patterns of notes and sounds. Then, we bounce this out as an audio file and use it as a sample source. We add a simple kick drum pattern and use an audio sidechain to modulate the amplitude of the music group. Next, we create a bassline using the Phase-4 device and add a Classic LFO and FX2 device for added effects. We bounce out the created sounds and create collages of these sounds to keep the track interesting. This approach doesn't focus on harmony or chords but rather heavily relies on the sound itself. You can create more sounds and variations to make the song even more interesting. Overall, this is a sound design-based approach to music creation in Bitwig Studio.

In this video, I introduce the plugin DP Meter 4, which I have used for years and recently rediscovered. It is very helpful for metering loudness and integrating loudness, and also has a feature to level out the volume of tracks to a reference value. This is a manual process, but it is more reliable than other similar plugins I have used in the past. Additionally, I explain the benefits of using the EBU R182 standard for loudness, and how it can be used for consistency purposes. I also share a tutorial for using DaVinci Resolve to normalize audio levels to a specific reference value using the same standard. Overall, I think incorporating a tool like DP Meter 4 or a similar feature into Bitwig Studio would be a great idea.
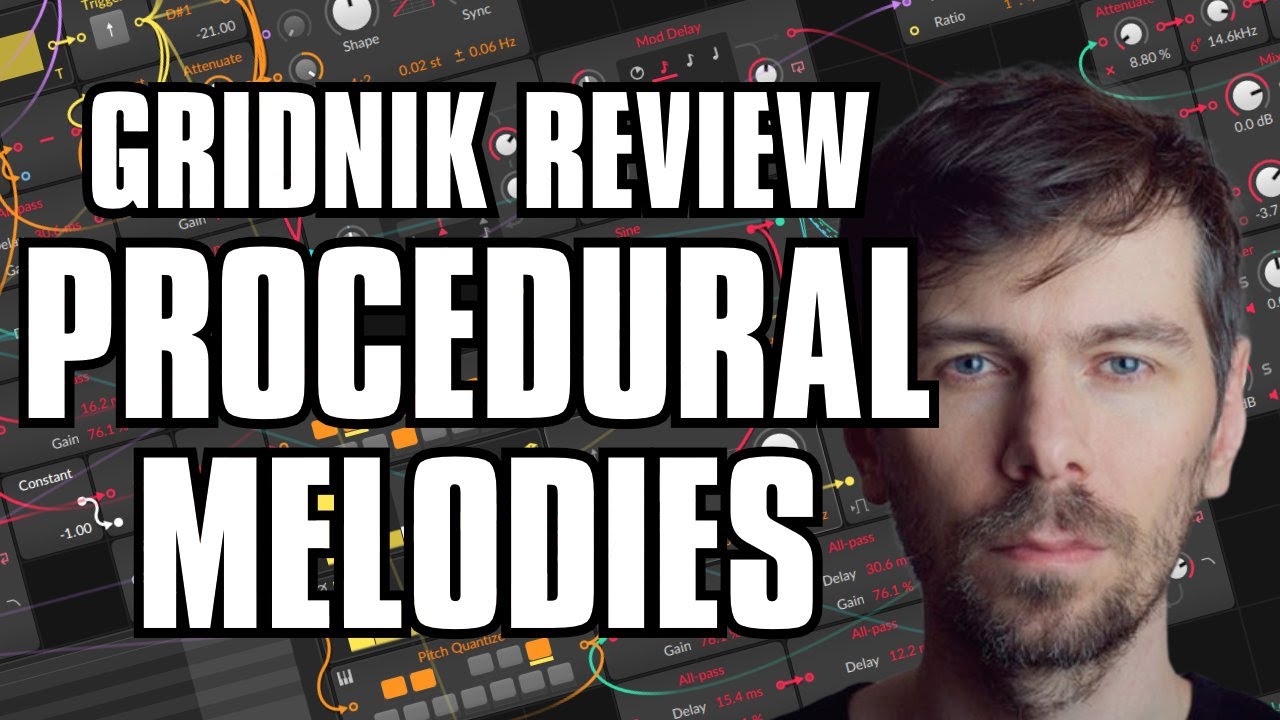
In this video, I share a patch that uses multiple LFO modules to create a more natural melody line. I blend different LFOs together to create a complex waveform for the pitch information, which is then narrowed down to a pitch scale and goes into a sample and hold module. The rhythm is also generated randomly using an LFO and the gates module. The whole patch is controlled by an overall volume LFO, but the only downside is that it's completely quiet after 32 bars. However, this can be easily fixed by offsetting the LFO in the second patch. Overall, this patch provides a more procedural approach to generating notes and rhythm, and experimentation is limitless.

In this video, I introduce the Evolving Paths preset and demonstrate how it works in Bitwig Studio. The preset uses the XY instrument, which features four samplers, each with 40 samples that can morph between states. I explain how to use the mod wheel to change the position in the sample and how to select different samples for each of the boxes. The preset is available for purchase on Gumroad or for free for supporters on my Patreon page. Overall, it's a fun and affordable tool to experiment with and create unique sounds.

In this tutorial, I will guide you in setting up Bitwig Studio on your computer, installing packages, selecting your sound card and Meti controller, and starting a new project. I will also show you how to use keyboard shortcuts and the left side of Bitwig Studio's info pane, which is contextual and changes depending on the selected track. We will also cover the transport display, loop function, and the help menu for instruments and effects. Overall, this tutorial will provide a beginner-friendly overview of Bitwig Studio and its features, with the goal of making music production more accessible to everyone.

In this video, I show how to create sounds using just the filter in Bitwig Studio and the grid. I demonstrate how to generate noise using the random noise generator, and then use a filter with resonance to shape the noise and add tonality. By manipulating the filter, resonance, and key tracking, you can achieve different sounds and effects. I also suggest trying different filters and experimenting with modulation to further shape the sound. Overall, it's an interesting and unique way to generate sounds without traditional oscillators or audio input.

This video covers how to create generative or randomized music with Bitwig Studio’s Grid module. It covers how to create an oscillator, envelope, volume, and gate module as well as using dice modules, a merge module, and a pitch scaler to generate a melody. It also explains how to use triggers, phase signals, and plant modules to randomize settings and create a unique sound.

In this video, I wanted to share my approach to creating music in Bitwig. Rather than getting overwhelmed by the thousands of possibilities in the software, I prefer to rely on presets and sounds I've already created. I use Bitwig as a canvas to paint tracks and automations, without getting too caught up in building instruments or complex modulations. I demonstrate this by dissecting a recent sketch I made, showing how I use presets and automation to bring the track to life. I also discuss the use of different VSTs and samples that I incorporate into the project. Overall, my goal is to create a practical and enjoyable process for making music.

In this video, I talk about my favorite topic, auto gain staging plugins or functions. I discuss the Hornet LU meter plugin and how it can automatically analyze the loudness of tracks and apply gain until it reaches the desired reference value. I also mention the Hornet normalizer plugin, which continuously analyzes and compensates for changes in real-time. I question why these features are not integrated into every DAW and suggest adding a threshold value to prevent excessive gain during quiet parts. I mention that Hornet plugins are affordable and recommend checking them out. Overall, I express my desire for these features to be integrated into DAWs and emphasize their usefulness in my workflow.

In this video, I want to give a big thank you to all my Patreon donators for supporting my music and community work. It's the first time in my career that I'm getting regular income just for music, and it feels great. Now, let's talk about additive synthesis. I've created an experiment using an additive synthesizer in the grid, which consists of a sine wave generator and multiple partials in different frequencies. By layering these partials, we can create complex sounds. I explain how to adjust the frequencies and introduce modulations to make the sound more interesting. I also demonstrate how to narrow the partials down to the fundamental frequency for different effects. The preset I created is called additive wonder, and you can download it from my GitHub repository. If you have any ideas or solutions on creating partials with less CPU usage, please let me know. Thank you for watching, and I hope you have fun experimenting with this preset. Bye!

In this video, the creator introduces two new devices or presets for Bitwig Studio 3. The first one is called Stereo Boy, which splits an audio input into two paths. One goes through a stereo splitter, all pass devices, and a stereo merge, creating a wider stereo effect. The second path includes a delay that is modulated slowly. The parameters can be adjusted using micro knobs, and the device can be used to add a weird pitch modulation effect. The second device is called Grain Reverb, which adds different pitches to the sound using pitch shifters and filters on multiple layers. The grain rate and mix can be adjusted for each layer, creating a thick reverb sound. The cutoff and pan can also be modified. The creator demonstrates the sound of both devices and offers them for download on their GitHub repository.

In this video, I take samples from the Intimate Noise page and try to create a track. I download the free sample pack and explore the different folders, including pads and drones, one shots, and sequences. I start by using the kick samples and creating a drum loop. Then, I incorporate some of the pad samples to add texture to the track. I manipulate the sounds using different effects and plugins, such as the Hornet plugin and the Sonable smart compressor. I also create a baseline using the notes provided by the pad sample. I continue to build the track by adding more elements, including chords, FX sounds, and melodies. I use a pitch shifter and random modulators to add character and variation to the sounds. I group the different elements together and apply sidechain compression using the kick drum to create a pumping effect. Finally, I do a quick mastering using the Allzone Elements tool to ensure the track reaches the desired loudness. Overall, the goal is to create a deep house track using the samples from the Intimate Noise sample pack.

In this video, I show various ways to utilize the pitch shifter device in Bitwig Studio. I demonstrate how adjusting the pitch knob and grain size can create pitch effects, delay effects, and even a phaser effect. I also explore using the pitch shifter device in combination with other devices, such as the stereo splitter and mid-side split, to create unique stereo effects. Additionally, I discuss using the pitch shifter device for reverb and the possibility of layering multiple pitch shifters for interesting results. Overall, I hope this video provides inspiration for incorporating the pitch shifter device into your own music production.

In this video, I recreated the Stranger Things theme using Bitwig Studio. I also collaborated with a friend to recreate the intro, resulting in Prolavity Things'. All the tracks in the project were created using Bitwig only, including an E-kick, Polysynth, and a sampler with my voice. I also showcased the Bitwig 3.0 tape machine preset that I made for the master track. The project does not use any dynamic processors, only a peak limiter at the end. I recorded my voice for some portions of the track. I provided the project download link in the description. Additionally, I mentioned the Bitwig Outrun Challenge for creating and sharing Retro Wave or Synthwave presets. The challenge is for fun and there are no prizes involved. Thanks for watching and see you in the next video.

In this video, I talk about the question of why Bitwig's grid is better than a modular VST. I argue that while other modular environments may offer more features, the deep integration of the grid within Bitwig allows for a more streamlined and creative workflow. It's not about the specific features, but rather about how you approach making music. Bitwig's grid provides the right-sized modules to quickly bring your ideas to life and have fun while doing it. I also touch on the idea that Bitwig is in the right position in terms of pricing, features, and workflow, and that it offers a playful and enjoyable experience.