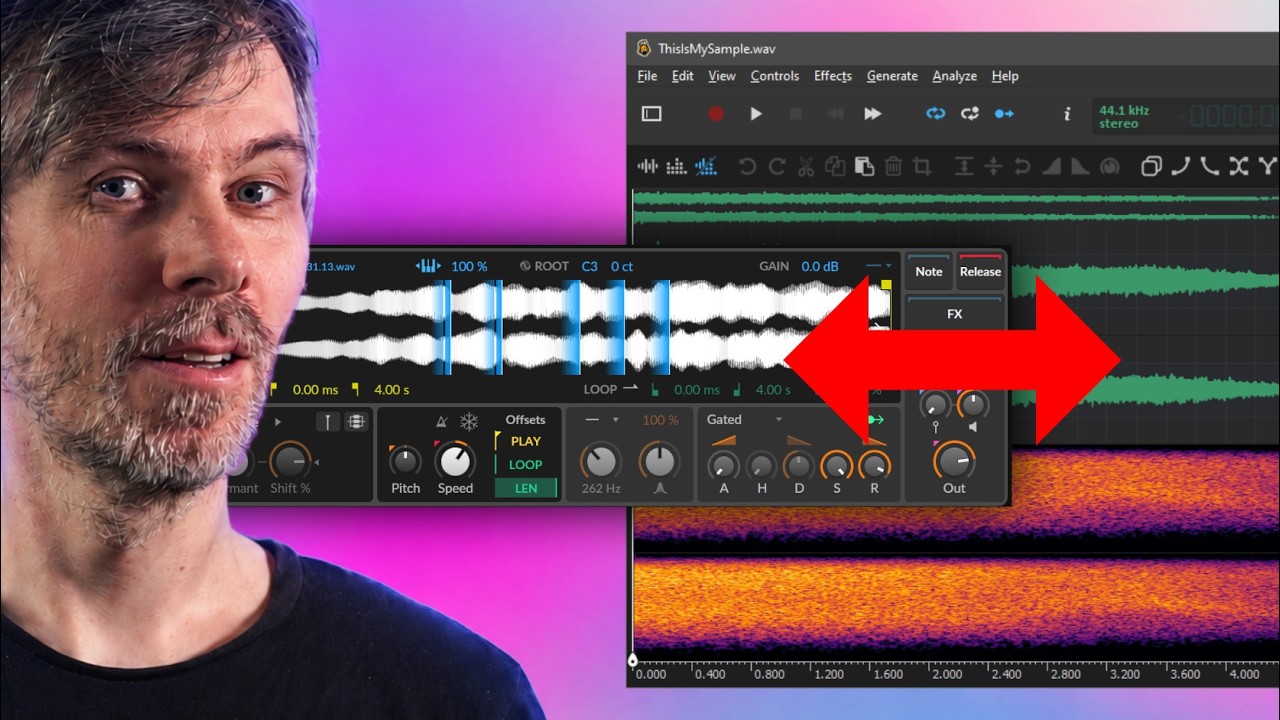
Bitwig Studio 6.1 Sampler Live Select for Smooth Crossfades
Tutorial | Jul 17, 2026
Learn how Bitwig Studio 6.1 Sampler Live Select Updating enables smooth multisample crossfades for strings, pads, and expressive custom libraries.
- You can watch the Video on Youtube
- Support me on Patreon if you like what you hear.
- Download Presets, Tools and Projects on my Dispenser
Quick Answer #
- Bitwig Studio 6.1 adds
Live Select Updatingin Sampler’s Multi-sample mode, letting the Select knob switch or crossfade between sample layers while a note is held, instead of requiring note re-triggering. - To use it: load multiple samples into Sampler → Multi-sample, open List View, select the layers, then choose
Distribute Select Equallyso each sample gets its own range on the Select axis. - Smooth morphing comes from setting fade in/out ranges per layer so adjacent samples overlap; this enables continuous transitions between pads, strings, piano intensities, articulations, or timbral variations.
- The key improvement over Bitwig 6.0 and earlier is that sample selection now updates live during playback; previously, changing Select only took effect after triggering a new note.
- Best use cases: building Kontakt-style expressive instruments with dynamic layer blending; for clean results, carefully tune overlap widths and avoid too many tightly packed layers unless longer fades are set.
Short Overview #
Bitwig Studio 6.1 Sampler live select updating in Multi-Sample mode adds real-time sample switching and crossfading between layers without retriggering notes. This makes it possible to hold a note and smoothly move between articulations, dynamics, or timbral variations using the Select control.
In practice, this is especially useful for building more expressive string, piano, and pad instruments from layered samples. Combined with Select distribution and fade-in/fade-out ranges, the new behavior enables smoother transitions between sample layers and brings Bitwig’s stock sampler closer to the workflow used in dedicated library tools like Kontakt.
Key Takeaways #
- Bitwig Studio 6.1 adds “Live Select Updating” in Sampler’s multi-sample mode, allowing the selected sample layer to change while a note is held, instead of requiring the note to be retriggered.
- The
Selectdimension can be distributed across layers with “Distribute Select Equally,” which maps each imported sample to a different position on the Select knob rather than stacking all samples on every position. - Crossfading between adjacent sample layers is set per layer with fade-in and fade-out step ranges, enabling smoother transitions between samples such as expression layers, pad textures, or intensity variations.
- This makes Sampler more practical for building custom instrument libraries like strings or pianos, where smooth blending between different articulations, dynamics, or timbral layers is needed.
- Without Live Select Updating, older Sampler behavior only switched layers on retrigger, even if Select zones and fades were configured; real-time morphing during sustained playback was not possible in 6.0.
- When editing multiple layers, the fade value display can be misleading, because the panel shows the currently selected layer’s value rather than a combined multi-selection state.
- Using too many layers with short crossfades can make transitions feel too abrupt, so fewer samples or longer fade regions may produce more usable morphing results.
- Current crossfades appear to use a linear curve only, with no per-crossfade curve shaping, and Bitwig’s other container devices still have routing limits compared with this new multi-sample Select workflow.
Bitwig Studio 6.1: Live Sample Switching in Sampler’s Multi-Sample Mode #
Bitwig Studio 6.1 adds a small but important improvement to Sampler in multi-sample mode: samples assigned across the Select dimension can now update while a note is being held.
This matters because earlier behavior required a re-trigger. A held note would continue playing the currently selected sample, even if the Select position changed. In 6.1, enabling Live Select Updating allows smooth movement between sample layers during playback.
For sound design and sample-instrument building, this makes Sampler much more useful for crossfading between articulations, intensities, or timbral variations.
What It Does #
In a multi-sample patch, several samples can be distributed across the Select axis. Each sample occupies a range of the Select knob, and Sampler plays the corresponding layer based on the current Select position.
Previously:
- changing Select while holding a note did not switch the sounding sample live
- the note had to be played again to hear the new layer
In 6.1, the new Live Select Updating option changes that behavior:
- hold a note
- move the Select control
- Sampler updates the active sample layer in real time
With overlapping ranges and fades, this becomes a continuous crossfade rather than a hard switch.
How It Works #
In multi-sample mode, samples can be viewed in the list view and assigned to the Select dimension.
A typical setup looks like this:
- Create a new multi-sampler patch.
- Drag multiple samples into Sampler.
- Open the list view.
- Select the imported layers.
- Use Distribute Select Equally.
This places each sample at an even position across the Select range.
Without any further setup, moving Select simply jumps from one sample to another. To make the transition smooth, each layer needs some overlap.
Fades and Crossfades #
Each sample layer can be given a fade in and fade out range on the Select axis.
That means:
- one sample gradually decreases as Select moves away from its zone
- the next sample gradually increases as Select enters its zone
When these ranges overlap, Sampler produces a crossfade between the layers.
This was already possible before 6.1, but the result only updated properly when notes were re-triggered. The new behavior makes those crossfades usable during sustained playback.
Workflow #
A practical workflow for building a morphing multi-sample patch is:
- Load several related samples into Sampler.
- Assign them to the Select dimension.
- Use Distribute Select Equally.
- Set fade in and fade out amounts for each layer.
- Adjust each layer’s range so one fade begins where the previous one ends.
- Enable Live Select Updating.
- Modulate or automate the Select control.
This works especially well when the source samples are variations of the same sound family rather than unrelated material.
Example: String Layers #
Two string samples can be placed at opposite ends of the Select range.
- one sample sits at the lower end
- the other sits at the upper end
- both are given overlapping fades
With Live Select Updating enabled, a held note can move smoothly between the two layers instead of switching only on the next key press.
This is useful for simulating expression changes or intensity transitions.
Example: Pads #
The same technique works well with a bank of pad samples.
After loading several pads:
- distribute them equally across Select
- add overlapping fade ranges
- move through the Select dimension manually or with modulation
The result is a patch that can morph continuously between different pad textures.
Practical Uses #
This feature is particularly useful for sample libraries that rely on gradual timbral change rather than simple switching.
Good use cases include:
- string libraries with different expression or intensity layers
- piano libraries with multiple tonal states
- pad instruments that morph across multiple sampled textures
- any patch built from several related recordings with different overtones or dynamics
In short, it makes Bitwig’s Sampler better suited to the kind of layered intensity blending often associated with dedicated sample-instrument platforms.
Limits #
A few limitations remain.
Careful fade setup is important #
The quality of the transition depends heavily on how the fade ranges are arranged. If many samples are packed too closely together, each crossfade may become too short, making the morph feel abrupt.
Longer overlaps often work better, especially with evolving or sustained material.
Fade curve control is limited #
The fades appear to be linear. That is usable, but some situations would benefit from adjustable crossfade curves so the blend could bend more toward one layer or the other.
Multi-selection editing can be unclear #
When multiple layers are selected, displayed values may reflect only the last selected layer. For example, a fade value may show 0 even though other selected layers have nonzero settings. That makes batch editing less obvious than it could be.
Comparison to Earlier Workarounds #
Before this update, achieving similar results in Bitwig often meant using container devices such as:
- Instrument Layer
- Instrument Selector
- XY Instrument
Those approaches could help with layered transitions, but they were less direct for building a true multi-sampled instrument inside Sampler.
The new Sampler behavior is cleaner because the crossfade happens inside the sample-layer system itself, on the Select axis, with live updating during sustained playback.
Why It Matters #
This is not a flashy headline feature, but it fills an important gap in Bitwig’s sampling workflow.
The addition of Live Select Updating means Sampler can now do something essential for expressive multi-sample instruments:
- assign layers across Select
- overlap them with fades
- move between them smoothly while notes are still sounding
For anyone building custom libraries or morphing sampled instruments, that makes Bitwig Studio 6.1’s Sampler significantly more capable.
Transcript #
This is the transcript of the video. The text was generated automatically and may contain small mistakes. The timestamps jump to the matching part of the video.
Click to expand transcript
[00:00:00] So welcome back guys, there's another feature in Bitwig Studio 6.1 with a sampler here that
[00:00:05] no one really talks about and this is when you use the multi-sample feature here, what
[00:00:10] I want to do, so we create a new multi-sampler patch and we want to use multiple samples.
[00:00:17] So let's go here to my sample thing and search for something, yeah, I prepared some strings
[00:00:25] here.
[00:00:26] We have two string samples, C3, long CS and just long, so we bring this in, direct this
[00:00:35] into here and then we use here this list view.
[00:00:40] We have on the right side here basically the select knob, this is this knob here and this
[00:00:45] works like this that you can play a note on the keyboard and it plays one sample.
[00:00:55] When you select here, let's say distribute select equally, so we have at the bottom end
[00:01:01] here of this knob we have this sample and at the top end we have this sample and yeah,
[00:01:09] you can basically play a note and play different samples but you can't move between the two,
[00:01:18] so it's like you play one note and hold it and nothing really changes, you need to re-trigger
[00:01:27] the note.
[00:01:32] And in 6.1 we have now this button here, it's called live select updating the sample which
[00:01:39] allows you to switch between these two samples here in kind of a fluid way.
[00:01:50] So you can press and hold the note and then switch between two samples.
[00:01:55] So this was not possible before, we only had this feature here since they updated sampler
[00:02:01] I think it was in 2.0 where you had to re-trigger more or less, so you couldn't just morph between
[00:02:08] the two.
[00:02:10] So this is now possible and yeah, we can define now some kind of fade between the two.
[00:02:20] This was also possible before, we can go here to the first sample and say on the left side
[00:02:27] we want to have a fade in or a fade out, let's say 15 steps and then we have this one here
[00:02:35] which has also 15 steps, then we maybe drag this a little bit in this direction and this
[00:02:43] one a bit longer.
[00:02:46] So now here the fade in starts where the fade out starts from this kind of sample and now
[00:02:52] we have more like a fluid.
[00:03:04] So it doesn't really make sense here but you can imagine that you can build with this some
[00:03:09] kind of string libraries where you have different expression settings or different velocities
[00:03:14] and you are smoothly fade between them which makes it much better to actually create string
[00:03:25] libraries this way.
[00:03:26] So this was not possible before, it's not possible in 6.0 with the old sampler.
[00:03:31] Now here 6.1 has the sampler where you can now fade between the layers which is kind
[00:03:38] of cool.
[00:03:39] So I want to use here something different, let's remove that and use some pads for samples.
[00:03:47] I have a lot of different pads here and just grab a bunch and just drag this in and they
[00:03:54] all play at the same time because we have your select and everything is selected basically
[00:03:59] on every position, that's not what we want.
[00:04:02] We select here all these layers and then say distribute, select equally.
[00:04:09] So now we have a nice little equal distribution of these select positions and it works like
[00:04:16] you expect it to be.
[00:04:28] So this was not possible before and it's really nice for pad sounds because we can morph between
[00:04:33] different samples.
[00:04:35] So all we need to do now is here select everything and then define maybe fade in and fade out.
[00:04:43] Let's say fade in, it's actually 14 steps long.
[00:04:52] Let's go to 7 here maybe and also 7 here.
[00:04:57] And then we make this longer, something like that.
[00:05:02] So right the fade in here starts when the fade out here starts on this sample and then
[00:05:08] the last one we don't need to fade out and here we don't need to fade in, maybe something
[00:05:15] like this.
[00:05:16] So let's try this out.
[00:05:34] So this is perfect for samples, it's perfect for sampling string libraries or piano libraries
[00:05:40] and you want to smoothly fade between different intensities or different overtones or different
[00:05:49] samples.
[00:05:50] So yeah, it's pretty cool to have and I really want to use this.
[00:05:56] I mean this is a basic feature for contact users.
[00:06:00] I don't know if this is possible in able to live in the Simpler or any other stock samplers
[00:06:06] of any other DAW, but this is kind of nice to have and you can simulate better what you
[00:06:13] are used to in contact or whatever people use these days.
[00:06:18] So yeah, let's put a reverb on that and we can also use of course all the other features
[00:06:24] like spectral and slow down the playback attack maybe.
[00:06:54] But as you can see it's probably better to have not that many samples in here because
[00:06:59] all of these fade in and fade outs are a bit too quick, maybe we can make this a bit longer.
[00:07:07] Let me see, so we have a fade, a longer fade time, something like that and it would be
[00:07:23] nice if we could define actually at the cross over curve.
[00:07:27] So at the moment it's linear and this is okay, this is pretty fine but sometimes you
[00:07:32] maybe want to adjust the curves so to make it more like a bend in one or the other direction.
[00:08:02] So yeah, it's pretty important that you define here these cross over and fade positions perfectly
[00:08:18] so it makes sense when you you know modulate this, also you can see a fade is zero which
[00:08:24] makes no sense because we select here multiple things and it takes basically the last selected
[00:08:31] layer here, right so here it's 10 and when I select this one where it's zero then it
[00:08:38] takes zero for everything.
[00:08:47] But yeah this is now possible in 6.1 in the new sampler and I'm happy that we have this
[00:08:52] because I always wanted to create some libraries for myself to use and this was a feature I
[00:09:00] was missing from contact you know to kind of use some string libraries or piano libraries
[00:09:08] and you need to have this feature to fade between different intensities.
[00:09:14] So this is what we have now and I want to show you this how it works.
[00:09:18] This kind of thing here was also possible before 6.1 it was just not updating live so
[00:09:25] you had basically everything in this kind of mode here where you need to press and you
[00:09:31] select your position or maybe you are somewhere here right where you have two things playing
[00:09:37] at once these two in a kind of a middle position but you couldn't change while playing.
[00:09:49] How cool do I have?
[00:09:56] Yeah not a big feature but I want to show you this maybe you haven't noticed already
[00:10:02] but try it out it's a cool feature and it's something along those lines where we had to
[00:10:09] use back then here the instrument layer, instrument selector and we needed to use multiple layers
[00:10:17] here and then you could use here what's the name the fade out is there actually a fade
[00:10:23] here or is it actually only in the FX selector I think there's no fade here between these
[00:10:29] two or we had to use the XY instrument container this one here where we could fade between
[00:10:38] four different positions oh yeah this is not possible also here we have to fade from this
[00:10:47] layer to this layer it's not possible to fade from here to here or from here to here right
[00:10:53] it's kind of always in the same sequence like an wavetable where you always have to go through
[00:11:01] all of the states in the same order so it's not like it's not possible to fade from here
[00:11:06] to here would be nice to have but yeah that's how it is at the moment cool to have at least
[00:11:12] this feature here and I probably use this a lot anyway that's it for this video I want
[00:11:17] to show you this let me know what to think in the comments down below and I see you in
[00:11:21] the next video there's more stuff coming next week bye