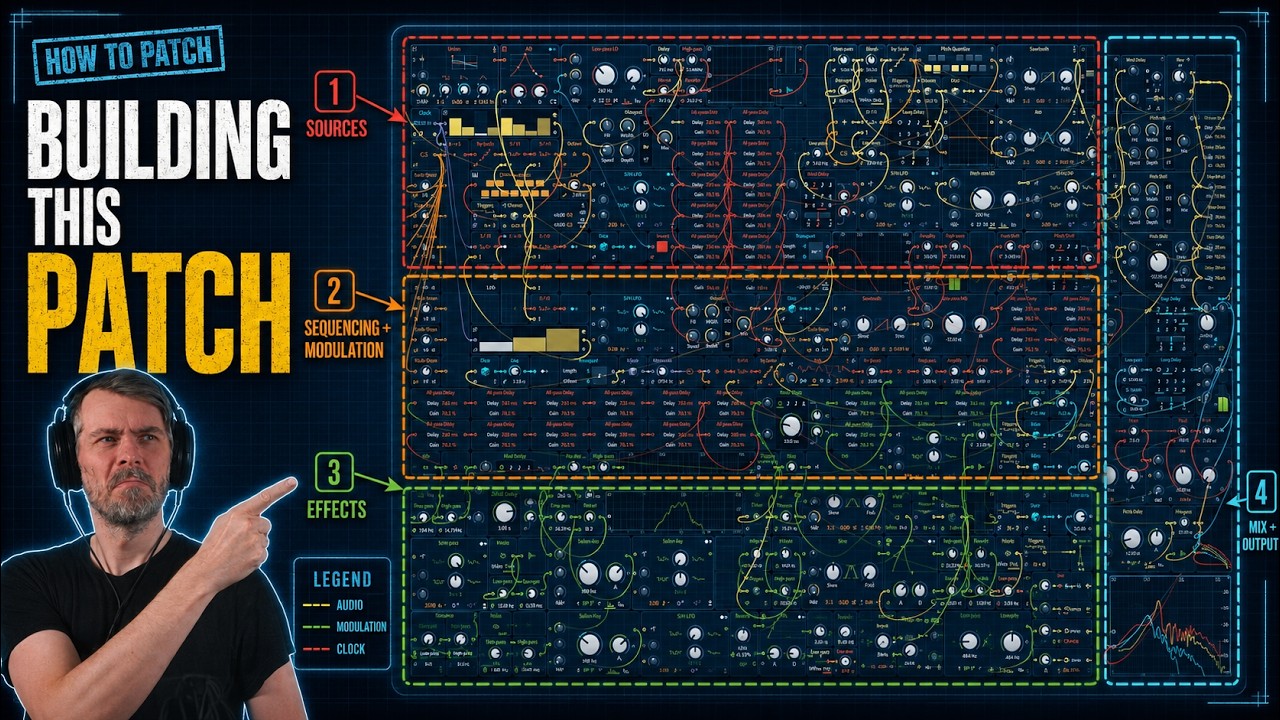
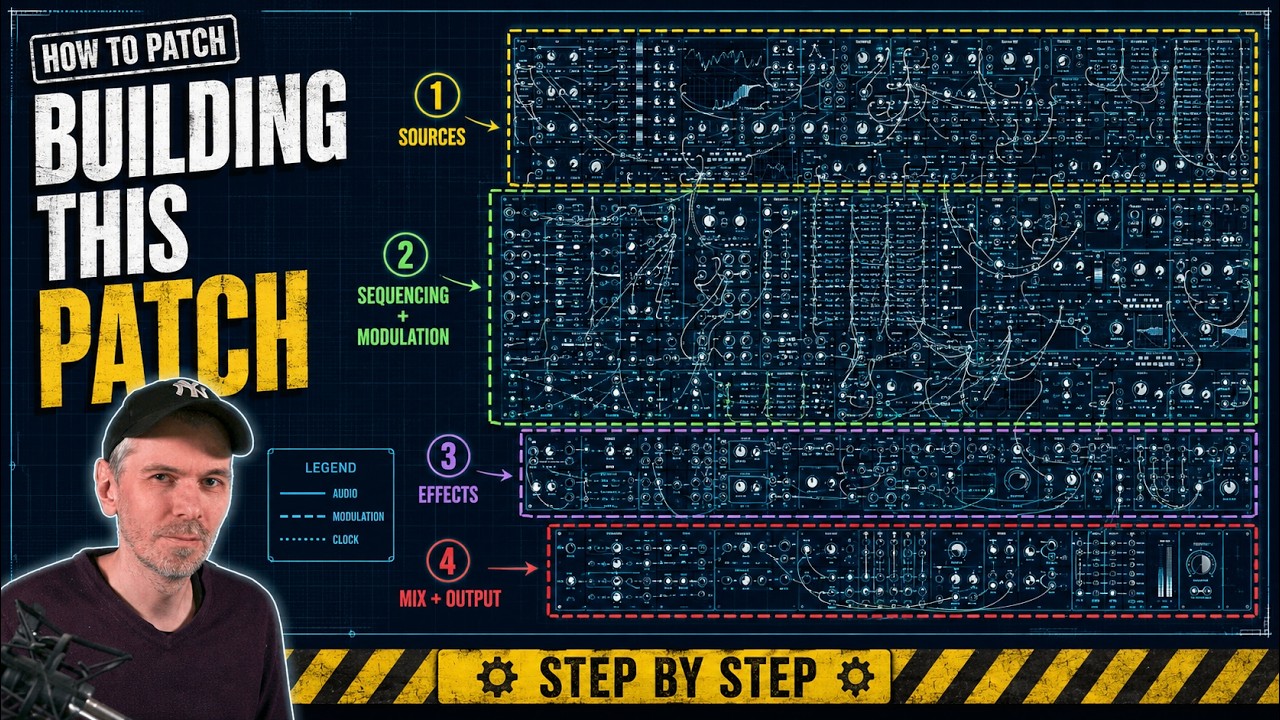
Bitwig Grid: Recreate Serum Hyper and Dimension
Tutorial | Mai 29, 2026
Recreate Serum Hyper/Dimension in Bitwig Studio or VCV Rack with Chorus+, FX Grid micro-delays, panning, and modulation for wide stereo unison.
- You can watch the Video on Youtube
- Support me on Patreon if you like what you hear.
- Download Presets, Tools and Projects on my Dispenser
Quick Answer #
- Yes, Serum’s Hyper/Dimension can be recreated closely with simple modules in Bitwig Grid or approximated fast with Bitwig Chorus+: Hyper is essentially a multi-voice micro-delay chorus, and Dimension is roughly 4 short delay lines with slow amplitude modulation and stereo spreading.
- To build Hyper in Bitwig Grid: use a Delay modulated by an LFO, set the patch to 7 voices (or more), apply per-voice modulation, then use Stack Spread to give each voice a different LFO phase or random offset, plus a second Stack Spread to distribute voices across the stereo pan field.
- To mimic the quick Hyper sound without patching: load Chorus+, set it to about 8 voices, then adjust mix, rate, and depth until it matches the desired Serum-style widening; the difference is small if settings are close.
- A better custom Hyper patch can outperform the stock effect: keep the low end dry with a crossover around ~500 Hz, apply the chorus/unison effect only to the highs, and reduce the added level with gain compensation since stacking many voices increases loudness a lot.
- To build Dimension in Grid: use about 4 very short delay lines, give each voice a slightly different delay time, then modulate each voice’s gain slowly with an LFO and add subtle stereo panning; this creates the soft pseudo-stereo diffusion associated with Dimension.
Short Overview #
Recreating Serum Hyper/Dimension in Bitwig Studio with simple Grid modules is entirely possible using chorus-style micro delays, voice stacking, stereo spread, and slow modulation. Hyper is essentially a multi-voice micro-delay chorus, while Dimension can be approximated with four short delay lines, out-of-phase summing, subtle amplitude modulation, and light panning.
This matters in practice because it delivers the same wide, animated stereo character without relying on Serum’s built-in effect section. A Bitwig Grid version also gives more control over voice count, modulation behavior, stereo placement, and crossover routing, making it easier to keep low frequencies mono while widening only the upper range.
Key Takeaways #
- Serum’s Hyper section can be approximated with a multi-voice micro-delay chorus: use a very short delay per voice, modulate delay time with an LFO for pitch movement, and spread voices across the stereo field.
- In Bitwig Grid, recreate Hyper by stacking 7 voices, setting the delay modulation source to per-voice, and using Stack Spread to offset each voice’s LFO phase so the chorus voices do not move identically.
- For a less predictable and more diffuse chorus, replace evenly phased modulation with randomized per-voice modulation, and optionally vary LFO speed per voice in addition to phase.
- Add stereo width by inserting a pan control after the delay and modulating it with a second Stack Spread set to -1 to +1, so each stacked voice lands at a different stereo position.
- Stacked chorus patches can become much louder because multiple voices are summed; compensate with a gain stage or use Voice Stack filtering/muting so only one voice carries the dry low band.
- A practical improvement over the stock effect is to exclude bass from the chorus/unison treatment: split the signal with a crossover, process only the high band with the stacked delay chorus, and pass the low band through mostly untouched.
- A quick stock-device substitute for Hyper is Bitwig Chorus+ with about 8 voices, adjusting speed and depth to taste; the transcript notes that the result is very close, with differences mostly coming from parameter choices.
- Serum’s Dimension section is interpreted here as four short delay lines with slow amplitude modulation, not pitch modulation: use 4 voices, give each a slightly different delay time, modulate gain slowly with an LFO, and apply mild stereo panning for width.
Recreating Serum’s Hyper and Dimension Effects with Simple Modules in Bitwig Studio or VCV Rack #
Serum’s Hyper/Dimension effect can be approximated with basic building blocks available in environments such as Bitwig Studio’s Grid or VCV Rack. The two halves of the effect are conceptually straightforward:
- Hyper is essentially a multi-voice micro-delay chorus
- Dimension is a pseudo-stereo widening effect built from short delay lines with slow amplitude modulation
The underlying ideas are documented in Serum’s manual and are simple enough to rebuild with standard delay, modulation, voice stacking, and panning modules.
What Hyper Does #
According to the manual, the Hyper section is a micro-delay chorus with a variable number of voices, from 1 to 7. It also includes a retrigger option so the effect can restart on each MIDI note, which helps simulate a unison-style ensemble effect.
In practice, this means Hyper behaves like a dense chorus made from multiple slightly detuned or differently modulated copies of the signal. Historically, this kind of effect was useful for giving mono synths a wider, stereo character without needing multiple oscillators or expensive hardware.
Main Hyper controls #
The transcript identifies these core parameters:
- Rate: speed of modulation for the Hyper voices
- Unison: number of chorus voices
- Tune: amount of pitch movement or modulation depth
- Retrigger: restarts modulation on each MIDI note
- Mix: wet/dry blend
How to Approximate Hyper #
A simple reconstruction starts with a short delay line whose delay time is modulated by an LFO. That modulation creates the subtle pitch drift associated with chorus.
Basic signal path #
A minimal Hyper-style patch looks like this:
- Input signal
- Short delay
- LFO modulating delay time
- Duplicate that path across multiple voices
- Offset the modulation per voice
- Spread the voices in the stereo field
- Sum and mix with dry signal
Why delay-time modulation creates chorus #
When a delay time is modulated continuously, the delayed signal changes pitch slightly. That moving pitch offset is the core of traditional chorus. With only one modulated delay, the result is a simple chorus voice. With many such voices, the effect begins to resemble unison or ensemble processing.
Workflow for a Hyper-Style Patch in Bitwig Grid #
1. Create a short modulated delay #
Use a Delay module with a very short delay time and modulate it using a standard LFO. A sine LFO is the classic choice, though random modulation can also work well.
2. Stack the patch into multiple voices #
Set the patch to 7 voices to match Serum’s maximum Hyper voice count. At this point, all voices will initially behave identically, which is not yet useful.
3. Apply per-voice modulation offsets #
Enable per-voice modulation so each stacked voice can receive unique values.
Then use a Stack Spread modulator to distribute values across the voices. One effective use is to assign the spread to the phase of the LFO. That way, every voice runs at the same modulation speed but starts from a different point in the LFO cycle.
This already produces a recognizable unison-style spread.
4. Pan each voice differently #
Add a Pan control after the delay path and use another Stack Spread modulator, this time in a bipolar range such as -1 to +1, to distribute voices across the stereo field.
Because pan is bipolar, this type of spread places each voice at a different point from left to right.
5. Consider random modulation instead of a regular LFO #
Instead of a repeating sine LFO, a random modulation source can make the movement less predictable and more diffuse. This often feels smoother and less obviously cyclical.
It is also possible to vary the modulation speed per voice, rather than only the phase. That adds further variation, though too much difference can sound exaggerated.
Optional Refinements for Hyper #
Keep low frequencies out of the chorus #
One useful improvement is to avoid modulating the bass region. Chorusing sub or bass frequencies often weakens the center image and can introduce undesirable movement in the low end.
A practical solution is:
- Split the signal with a crossover
- Leave the low band dry
- Apply the Hyper-style modulation only to the high band
- Recombine both bands at the output
A crossover point around 500 Hz was suggested as a workable starting point.
Control gain build-up #
Summing many voices increases level significantly. Seven or more stacked voices can produce a large gain increase, so the patch should include gain compensation.
This can be handled with:
- a gain module after summing
- or more careful level management per voice
Without compensation, the processed version can sound “better” only because it is louder.
Increase voice count beyond Serum #
Unlike Serum’s fixed Hyper voice count, a modular patch can be expanded beyond 7 voices. For example, 16 voices are possible in Grid. This makes the effect denser, though it also increases CPU load and raises the need for careful gain control.
How Close Is It to Serum? #
A stock chorus such as Bitwig Chorus+ can already get quite close.
Using:
- around 8 voices
- suitable speed
- suitable depth
- proper wet/dry mix
produces a result that is very similar in character to Serum’s Hyper section. The differences largely come down to parameter tuning rather than a radically different algorithm.
A custom Grid patch offers more flexibility, especially for:
- excluding low frequencies from modulation
- choosing different modulation shapes
- adjusting voice-specific behavior
- extending voice count
- taking advantage of Grid’s oversampling and routing options
What Dimension Does #
The manual describes Dimension as a pseudo-stereo effect made from four delay lines, summed out of phase and slowly amplitude modulated to create subtle motion.
The goal is not obvious chorus pitch movement, but a gentle widening and diffusion of an otherwise mono signal.
How to Approximate Dimension #
A practical reconstruction uses:
- Multiple short delay lines
- Slightly different delay times per voice
- Slow LFO modulation of gain, not delay pitch
- Slight stereo panning per voice
Core idea #
Where Hyper relies on delay-time modulation and resulting pitch movement, Dimension appears closer to:
- fixed or near-fixed short delays
- slow movement in amplitude
- phase interactions between channels
- gentle left/right distribution
That combination creates width without sounding as obviously chorused.
Workflow for a Dimension-Style Patch #
1. Use four voices #
Set the patch to 4 voices to reflect the manual’s description of four delay lines.
2. Give each voice a slightly different delay time #
Use a Stack Spread or equivalent distribution to assign different short delay values to each voice. The delays should remain subtle and close together.
3. Modulate gain slowly #
Add an LFO and use it to modulate the gain of each voice. Keep the rate slow. A phase offset between voices helps ensure that not all voices rise and fall together.
This amplitude movement contributes to the subtle motion associated with the effect.
4. Apply gentle panning #
Use another spread modulator to place the voices slightly across the stereo field. This should usually be more restrained than in the Hyper patch.
5. Compensate output level #
As with Hyper, summing several voices adds level. A gain stage after the effect keeps comparisons fair and prevents loudness from masking the true character of the patch.
Practical Uses #
A reconstructed Hyper/Dimension setup is useful for:
- widening mono synths
- creating a unison-like spread without heavy oscillator unison
- preserving CPU compared with high unison settings
- adding motion to static waveforms
- keeping bass centered while widening only the upper spectrum
The Hyper-style patch is especially effective on simple waveforms such as a saw wave, where the chorus movement is immediately audible.
Limits #
These reconstructions are approximations, not verified one-to-one clones.
A few caveats:
- Serum’s exact internal implementation is not fully exposed in the manual
- matching loudness is essential when comparing results
- different modulation settings can make two similar algorithms sound more different than they really are
- filters, delays, and crossover stages alter phase, so phase plots are not especially useful here
- the exact meaning of some Dimension parameters, such as how “size” maps internally, remains uncertain from listening alone
Even so, the overall architecture is clear enough to reproduce the essential behavior convincingly.
Bottom Line #
Serum’s Hyper can be recreated effectively as a multi-voice modulated micro-delay chorus with per-voice phase or speed offsets and stereo spread. A standard chorus such as Bitwig Chorus+ already gets close, especially with several voices and moderate depth.
Serum’s Dimension can be approximated with four short delay lines, slight per-voice variation, slow amplitude modulation, and restrained stereo panning.
For quick results, a built-in chorus may be sufficient. For more control, especially over stereo distribution, modulation behavior, and frequency-dependent processing, a modular environment such as Bitwig Grid offers a more flexible and often more refined approach.
Transcript #
This is the transcript of the video. The text was generated automatically and may contain small mistakes. The timestamps jump to the matching part of the video.
Click to expand transcript
[00:00:00] So recently someone asked me if it's possible to recreate the hyper and dimension effect of 0 and 2 with some simple modules, maybe inside of Bitwig Studio or VCV REC.
[00:00:11] And yes, this is kind of possible because hyper is kind of a chorus and dimension is something like an amplitude modulation.
[00:00:20] And I know that because it's in the manual.
[00:00:24] So the manual says your hyper dimension, the hyper dimension module is a micro delay chorus with the variable number of voices 1 to 7.
[00:00:32] So it's a 7 voice chorus.
[00:00:35] In addition, you can configure the hyper dimension effect to retrigger on every MIDI note, which adds a potential simulation of unison.
[00:00:42] Conserve CPU, consider using the hyper effect as an alternative to high unison settings.
[00:00:48] So back in the day when everything was very expensive on hardware, you could just use this kind of effect on mono synthesizers and then have some kind of stereo effect.
[00:01:00] So we have a rate knob here, speed of each various hyper voices, oscillate, unison, the number of chorus voices, the tune, the amount depth of the hyper voice oscillation, so it's the modulation depth, retrigger, mix level.
[00:01:15] OK, so this is hyper.
[00:01:18] So first I show you how it sounds.
[00:01:20] So bring down here the mix of hyper and we have here just a very simple saw.
[00:01:42] So it sounds like a chorus, right?
[00:01:44] You can almost just use the chorus of Bitwig Studio, chorus plus and use, let's see, 8 voices here.
[00:01:54] Then bring up the mix.
[00:02:11] It gives you already kind of the same sound.
[00:02:15] It's a bit, not a bit loud.
[00:02:23] But it's kind of the same sound.
[00:02:25] I mean, it's not very different.
[00:02:28] But if you want to recreate this in the grid, you can do this also.
[00:02:34] And here you have more options, you can do more things or things differently for a different sound.
[00:02:42] So what the chorus does is it probably uses a delay like that.
[00:02:48] It modulates this delay with an LFO.
[00:02:52] So let's go for the classic LFO.
[00:02:55] And we modulate the delay time like this and it sounds not very different, probably just, you know, a pitch modulation.
[00:03:08] But that's what we want.
[00:03:09] We want to have a pitch modulation.
[00:03:11] We want to have multiple voices and each voice has a different pitch kind of or different pitch modulation.
[00:03:17] So at the moment we have only one voice and the effect of zero has a maximum of seven.
[00:03:25] So we go here maybe to seven already.
[00:03:27] So we have this seven times.
[00:03:29] So we duplicated the seven times.
[00:03:31] So we have seven voices doing the same delay, doing the same delay modulation.
[00:03:36] That's not what we want.
[00:03:37] We want to have a different modulation on each voice.
[00:03:39] We select the modulator, go to the left side and use per voice.
[00:03:43] So now you can see we have seven dots now, which indicates we have the same modulation on seven voices.
[00:03:51] That's also not what we want.
[00:03:53] We want to have a different modulation.
[00:03:55] So we use here a stack modulator or a stack spread modulator like this.
[00:04:01] And it says zero two plus one, which is okay, which means it spreads out the numbers between zero and one for each voice differently.
[00:04:14] So we can modulate here, let's say the face.
[00:04:17] It looks like this.
[00:04:19] Let's go to 100.
[00:04:22] 100%.
[00:04:23] So now each voice has the same LFO, the same LFO speed, but a different starting point inside of the face of the LFO sequence.
[00:04:34] So already sounds like a unison setting.
[00:04:52] Okay.
[00:04:53] So now that we have this, we need to spread it out in the stereo field or on the stereo pen or we need to set every voice to a different pen setting.
[00:05:04] Or we want to place it differently in the stereo spectrum.
[00:05:07] I don't know how to call it.
[00:05:08] You know what I mean.
[00:05:09] So we bring in here a pen knob.
[00:05:14] So again, this whole patch here is duplicated virtually seven times.
[00:05:19] And what we do here with the stack spread is basically that we give each voice a different parameter, a different value, a different modulation.
[00:05:30] So now we use another stack spread here, a second one, because here we don't want to use zero two plus one.
[00:05:38] We want to use minus one to plus one.
[00:05:40] This is the modulation value.
[00:05:42] So we can modulate now the pen knob by 100%.
[00:05:49] And because we say minus one to plus one and we modulate this by 100%, and the pen knob here has a parameter range of minus one to plus one.
[00:05:57] So it's bipolar.
[00:06:00] It goes in both directions, negative and positive.
[00:06:03] And this is negative and positive, right?
[00:06:06] We modulate this by one percent.
[00:06:08] We spread it out over seven voices equally.
[00:06:11] So each voice lands in a different spot in the stereo pen or stereo field.
[00:06:18] Sounds like this.
[00:06:20] This is mono.
[00:06:29] 100%.
[00:06:37] Okay, so it's still a bit evenly because we have here this LFO.
[00:06:44] And if you like the sound, you can leave it, but you can also switch this here to randomized or random.
[00:06:51] So now each voice gets a different random modulation.
[00:06:56] As you can see here, it's not that evenly, even more, and it sounds probably better.
[00:07:08] We can also say we want to have not only in each voice a different phase position, which makes no sense anymore because it's random now.
[00:07:20] But we can also say we want to have a different speed on different voices, right?
[00:07:25] You can see here it's still low and the higher we go in voices, the faster the modulation appears to be.
[00:07:33] But it's maybe a bit too much.
[00:07:36] Let's go for this.
[00:07:38] You can also switch this back here to LFO to a sine wave, which is probably also okay.
[00:07:50] So it has more like a diffused character.
[00:08:04] It's not like you can, or your brain figure out, oh, there is some kind of pattern, right?
[00:08:11] So this is more complicated and it diffuses the signal better, in my opinion.
[00:08:16] But you can do whatever you want, whatever you like.
[00:08:19] Maybe you like the sound of having a repeatable pattern, right?
[00:08:23] And you can recognize there is actually something repeating.
[00:08:28] Okay, so now that we have this, what else can we do?
[00:08:33] We can say maybe it is a bit too loud because we have seven voices here, duplicated or summed together.
[00:08:42] Like this.
[00:08:46] And also problem is probably when we use your EQ Curve Analyzer like this.
[00:08:53] You can see it's pretty loud.
[00:08:58] Without, we have a nice signal here, 0 dB.
[00:09:02] And then we amplify here the signal very much.
[00:09:05] So let's bring in a gain knob, bring the gain down.
[00:09:11] And we can also influence here the sound heavily and where we modulate by the initial delay time here.
[00:09:21] And we can also increase the voice tag here to 16 voices instead of just seven.
[00:09:30] So what we can do now is we can just remove the low end from the whole equation.
[00:09:37] Because you probably don't want to have a pitch modulation in the bass on the sub frequencies.
[00:09:42] So we can use a crossover, which is also not possible in the Serum effect because there you modulate the sub and top end.
[00:09:54] So here we use a crossover and we maybe want to set the crossover frequency to, I don't know, 500 hertz.
[00:10:01] You can see we have here the modulation only at the top end.
[00:10:05] Low end does nothing because we connect this now, mix low end goes in, top end goes in output.
[00:10:15] And you can see we have a lot of gain here because we use 16 voices.
[00:10:19] We use 16 times the low end and add it together to increase the gain, of course.
[00:10:25] We can pull down here the gain to make it back to normal or we can use the voice talk thing here like this.
[00:10:34] Put it in there and say we only want to pass through the first voice and the other voices, you know, just muted.
[00:10:43] And then we can put this here on the roti B. You can see it's perfectly straight line.
[00:10:50] Okay, so now we only have unison on the top end and the low end here is pretty fine.
[00:10:56] Don't talk about the face because this is fucked up anyway because we have a filter in here and, you know, and doing a lot of delay and filtering.
[00:11:05] So yeah, don't talk about the face.
[00:11:09] Yeah, but you can keep the bass out of the equation, which is probably nice to have.
[00:11:16] So with this, we have already kind of a better way of creating unison.
[00:11:28] So this one is much louder.
[00:11:30] We don't compensate here for the for the gain or maybe we use zero dB or it's actually always minus six, right?
[00:11:41] Something like this.
[00:11:42] Okay, let's put this into a chain.
[00:11:46] Then we can listen here to the sound.
[00:11:59] Yeah, it adds here 15 dB of loudness, just having the effect on so they don't compensate basically for the loudness.
[00:12:08] So that's that.
[00:12:10] Then we put this into FX layer, maybe switch this to FX selector.
[00:12:16] So this is serum.
[00:12:20] Then use our FX grid here, the grid version and use maybe chorus plus all the way up.
[00:12:31] Maybe put a chain on that too.
[00:12:33] So we are on equally testing grounds here.
[00:12:38] Let's use the chain or this is the chorus plus.
[00:12:56] Okay, that's nice.
[00:12:57] Then we have the grid version here.
[00:12:59] We also use a chain, put this in there and let's test this one.
[00:13:16] Okay, this one is more detuned because I have to tune all the way up.
[00:13:37] So I would say sound wise it's kind of the same thing, it depends on what you dial in on the settings, on the tuning and the starting offset.
[00:13:48] I would even say the grid sounds the best because of the over sampling and because we can leave out here the bass frequencies or the low end frequencies.
[00:13:58] And also with the grid you have a lot of influence on how it sounds by just changing what I said here on delay.
[00:14:28] So you have more influence on how you want to have it to sound.
[00:14:43] Okay, chorus plus is also pretty fine.
[00:14:46] Just use that.
[00:14:47] If you just need this hyper effect, use chorus plus, use eight voices here, change the speed setting and the depth and you're good to go.
[00:14:57] Very minimal difference, but the difference is only because I have different settings in zero and chorus plus.
[00:15:26] But in my opinion, it sounds kind of the same.
[00:15:30] It's the same thing.
[00:15:32] I put you the grid version here also in the description below if you want to use that.
[00:15:39] Yeah, okay, let's go maybe here to the dimension thing.
[00:15:46] So this one is a bit different.
[00:15:48] I think this is just a modulation of the volume instead of the pitch.
[00:16:07] I don't know, let's use here the analyzer again and see what's happening there.
[00:16:22] It could be that the size is actually the delay time again and then it modulates the loudness, not really sure.
[00:16:41] Okay, let's try it out.
[00:16:43] Let's disable this.
[00:16:46] Let's use the NFX grid.
[00:16:51] So the manual says dimension effects is pseudo stereo effect consisting of four delay lines summed out of phase and slowly amplitude modulated to provide a subtle amount of motion to the effect.
[00:17:06] This is useful for adding perceived width to an otherwise mono signal size as an extra layer of phase delays.
[00:17:15] I don't know what this means if you actually can increase the number of delays, but it says here it's actually only four delay lines.
[00:17:25] So I don't know what this means.
[00:17:28] So let's use a delay time and then use four voices.
[00:17:41] Each voice gets a different delay time, I would say something like this.
[00:17:52] First voice is pretty short.
[00:18:03] And then we modulate the LFO very slowly, let's use the classic.
[00:18:14] First voice and then we modulate here the gain, maybe.
[00:18:30] And we change the phase here to 75 maybe.
[00:18:39] So only one voice is only all the way up.
[00:19:01] This is better. And then not too fast, just very slow.
[00:19:09] And then we need to have a pan also probably.
[00:19:15] And then we do the same thing here, stack spread minus one plus one.
[00:19:20] Just make it pan just by 25% or something, not too much.
[00:19:36] It sounds kind of a bit more diffused.
[00:19:42] We need to compensate here for the loudness probably.
[00:19:56] Okay, that's okay. And here we compensate again.
[00:20:10] Yeah, the phase is probably different.
[00:20:14] Let's see, we have 75.
[00:20:32] I think 75 is fine.
[00:20:36] Maybe we use more voices.
[00:20:54] Maybe it's better instead of going up, going down.
[00:21:20] I would say this goes also in the same direction, maybe some of the settings are not correct.
[00:21:28] But this sounds more diffused. It even sounds like there's an all-pass delay or something on that.
[00:21:52] Yeah, maybe it's more like that.
[00:21:54] Okay, so this would be dimension.
[00:21:58] I would say this is something like that.
[00:22:00] So just multiple voices and just delaying each voice slightly and then modulating the loudness or the gain of each voice with an LFO.
[00:22:12] So we have like a movement in there and also pan settings.
[00:22:16] So each voice is differently panned slightly.
[00:22:18] So we have this stereo effect.
[00:22:20] Yeah, so I put this in the description below if you want to download this, of course, it's not much.
[00:22:26] You can build this for yourself in a few minutes if you want to.
[00:22:30] But I put it in the description below or on my dispenser so you can download all this stuff.
[00:22:36] So yeah, if you have some critique, some feedback, let me know.
[00:22:42] Maybe you already tried to rebuild this and have a much better understanding of what's going on.
[00:22:48] Let me know, but this is what I came up with on the fly.
[00:22:54] Okay, by just reading the manual and listening to the sound.
[00:22:58] Anyway, thanks for watching. See you next time. Bye.