Bitwig Shapers Explained: Which One Should You Use?
Article | Sep 09, 2026
A practical guide to Bitwig's 15 Grid shapers: choose between clipping, saturation, folding, harmonic shaping, and custom curves, with starting points for basses, synths, drums, and modulation.
You have a synth that needs more bite, a bass that disappears on small speakers, or a drum loop that could use a rougher edge. You open Bitwig's shaper menu. Where do you start?
Start with the job. Rounding off peaks, folding a simple waveform, and drawing your own input-to-output curve are different ways of changing a sound. The input signal and its level are part of that choice.
This guide covers the 15 modules in The Grid's Shaper category, with the module inventory checked in Bitwig Studio 6.1. Fourteen also appear in Filter+; Curve is the additional Grid utility. The diagrams explain general waveshaping principles. The listening experiments are starting points for your own patches.
The shaper menu at a glance #
Filter+ groups its shapers into One Knob, Parametric, and Character families. These are useful menu categories; the more important distinction for a patch is what happens as you increase the input level. Bitwig's Filter+ reference
| Shaper | Family | Useful first experiment |
|---|---|---|
| Distortion | One Knob | Add an edge to a bass while keeping its role in the mix |
| Hard Clip | One Knob | Compare drum attack against increasing peak flattening |
| Wavefolder | One Knob | Turn a sine or triangle into a changing synth tone |
| Chebyshev | One Knob | Explore harmonic order on a single oscillator |
| Quantizer | One Knob | Make a decaying percussion sound break into coarse levels |
| Diode | Parametric | Compare symmetric and biased shaping on a lead |
| Rectifier | Parametric | Reshape the two halves of a waveform independently |
| Saturator | Parametric | Adjust the treatment of quiet and loud waveform regions |
| Transfer | Parametric | Draw the curve that a fixed shaper does not offer |
| Push | Character | Audition soft clipping on a drum loop |
| Heat | Character | Sweep from light coloration toward stronger clipping |
| Soar | Character | Explore soft folding on a short synth note |
| Howl | Character | Animate a held bass by moving Drive |
| Shred | Character | Find narrow regions of cancellation and rough texture |
| Curve | Grid utility | Make a modulation gesture more useful over its range |
For filtering choices, read the companion Bitwig Filters Explained.
Input level is part of the sound #
A transfer curve maps an input value on the horizontal axis to an output value on the vertical axis. A straight diagonal passes those values through unchanged. Bending, flattening, or reversing parts of that line changes the waveform and can add harmonics.
- Clipping limits the waveform's excursions. A hard clip has an abrupt corner; soft clipping bends toward its outer region more gradually.
- Folding turns parts of the curve back. Increasing input can make those parts smaller or reverse their polarity.
- Rectification changes how the positive and negative halves are treated.
- Quantization reduces the available amplitude levels, producing a staircase-like mapping.
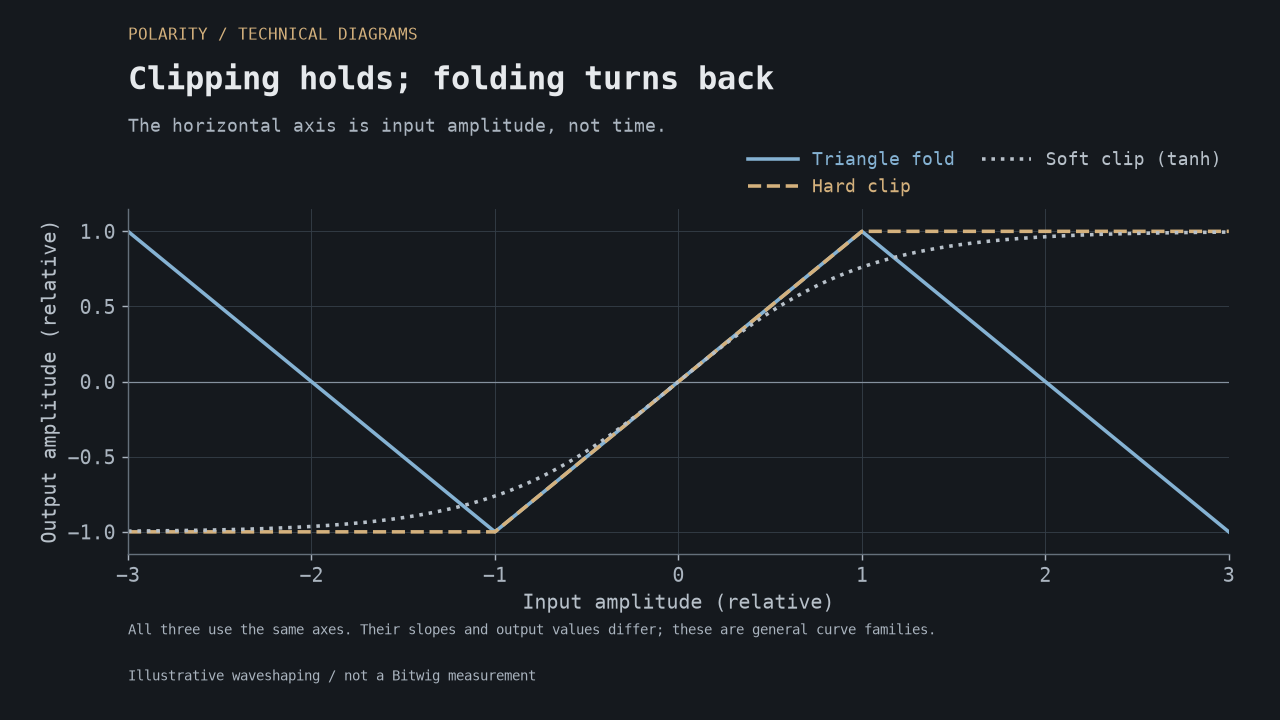
Illustrative transfer curves. The clipper stays at its ceiling; the folder turns back. These are textbook examples, not measured curves of the named Bitwig modules.
Increasing the level before a shaper sends the signal through a different part of its curve. Reducing the level afterward makes the result quieter, but does not undo that change in shape. Keep these two jobs separate when comparing sounds.
Push, Heat, Soar, Howl, Shred, Hard Clip, Distortion, Wavefolder, and Diode have Drive ranges of 0 to 40 dB. Transfer allows -24 to +24 dB. Saturator has its own scale. Equal knob positions across this menu are not a reliable comparison.
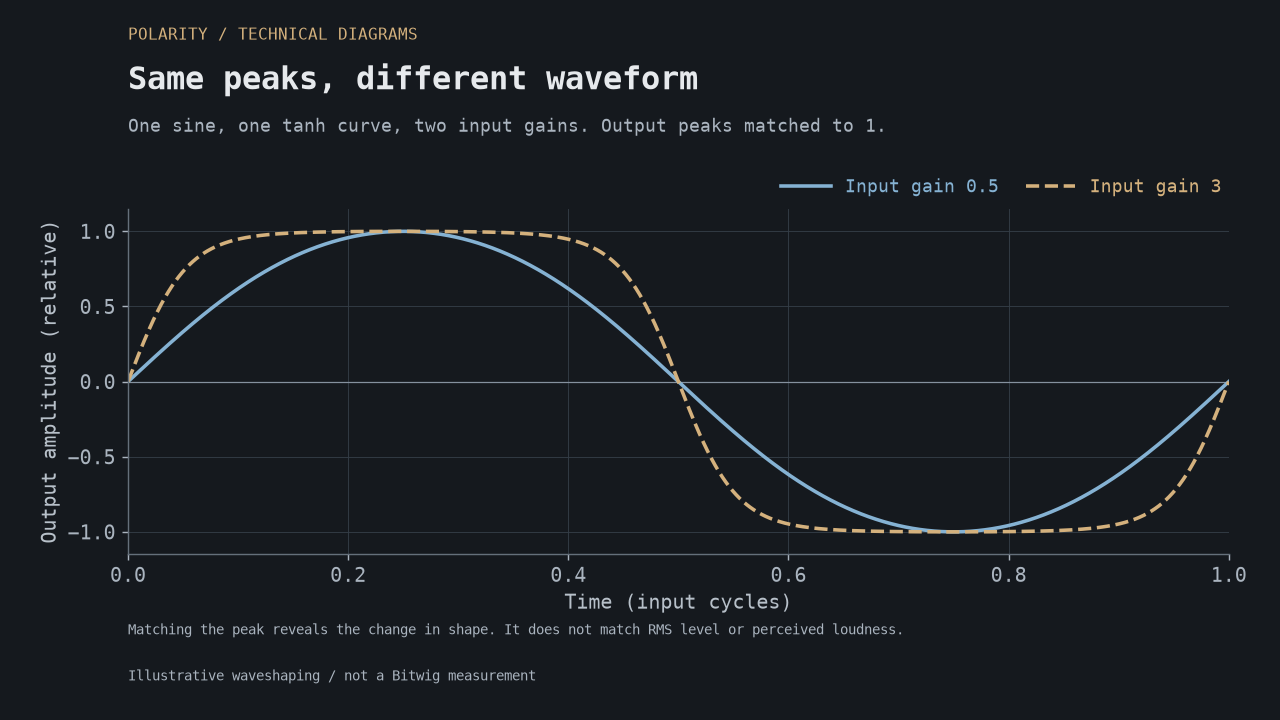
Both outputs have the same peak amplitude. The harder-driven waveform still has a different shape. Peak matching alone also does not guarantee equal perceived loudness.
Symmetry matters too. For a centered sine and a memoryless curve with equal, opposite halves, the added harmonics are odd. Asymmetric shaping can introduce even harmonics and a DC component. With chords, distortion also creates interactions between notes, so a setting that works on one oscillator may sound much denser on a pad.
Distortion: a simple starting point #
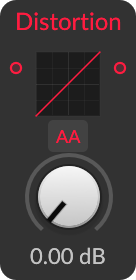
The Grid's Distortion module gives you Drive and an Anti-aliasing option. It is a useful first comparison when you want some coloration before deciding whether a more specialized shaper is necessary.
Try this: use a bass with one oscillator, then increase Drive in small steps while reducing output gain. Listen for additional definition above the fundamental. Stop when that definition helps the bass read in the track; compare a lower setting before assuming more is better.
The standalone Distortion device has a different layout, including EQ and filters. Do not transfer settings or routing assumptions from that device to the Grid module. Bitwig's distortion-device reference
Hard Clip: hear what the peaks contribute #
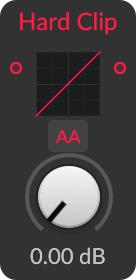
Hard clipping flattens waveform excursions beyond a boundary. It can make the difference between attack and body smaller while adding upper harmonics. On percussion, that is a tradeoff worth hearing directly.
Try this: send a snare or short drum loop through Hard Clip. Raise Drive until the change is obvious, match the output level, then back Drive down. Compare the snap of the first hit with the body that follows it.
Choose it when deliberate peak flattening is the experiment. If the attack loses too much definition, compare Distortion or Push at a similar listening level. For judging this module, keep any additional clipping at the Grid output out of the comparison.
Wavefolder: make a simple oscillator do more #
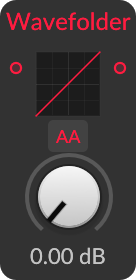
A folder turns waveform excursions back toward the opposite direction instead of holding them at a flat ceiling. The basic Wavefolder is a useful way to hear this distinction: increasing the input can introduce successive folds.
Try this: feed a sine or triangle into Wavefolder and move Drive slowly. Find two nearby positions with contrasting tones. Apply a small envelope movement between them for a pluck whose brightness changes during its decay.
A simple oscillator leaves room to hear the new structure. Try the same patch with a saw afterward; its existing harmonics can make the change harder to separate. Compare Soar for a softer folding approach, or Howl for a different pattern of emphasis.
Chebyshev: harmonic order needs the right input #
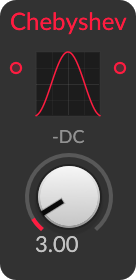
Chebyshev uses an Order control ranging from 1 to 32. Its useful mathematical idea is that an integer-order Chebyshev curve turns a full-amplitude cosine into a cosine at that multiple of the frequency. Order 3 can therefore illustrate third-harmonic generation.
The input amplitude is essential. Reducing it changes the harmonic mixture. Fractional orders and complex inputs also move away from the simple one-harmonic example.
Try this: use a single sine oscillator with no amplitude modulation, select Order 3, and sweep the level before Chebyshev. Watch Spectrum while listening. Then keep a useful input level fixed and place the note's volume envelope after the shaper. Moving the envelope before it makes timbre part of the decay.
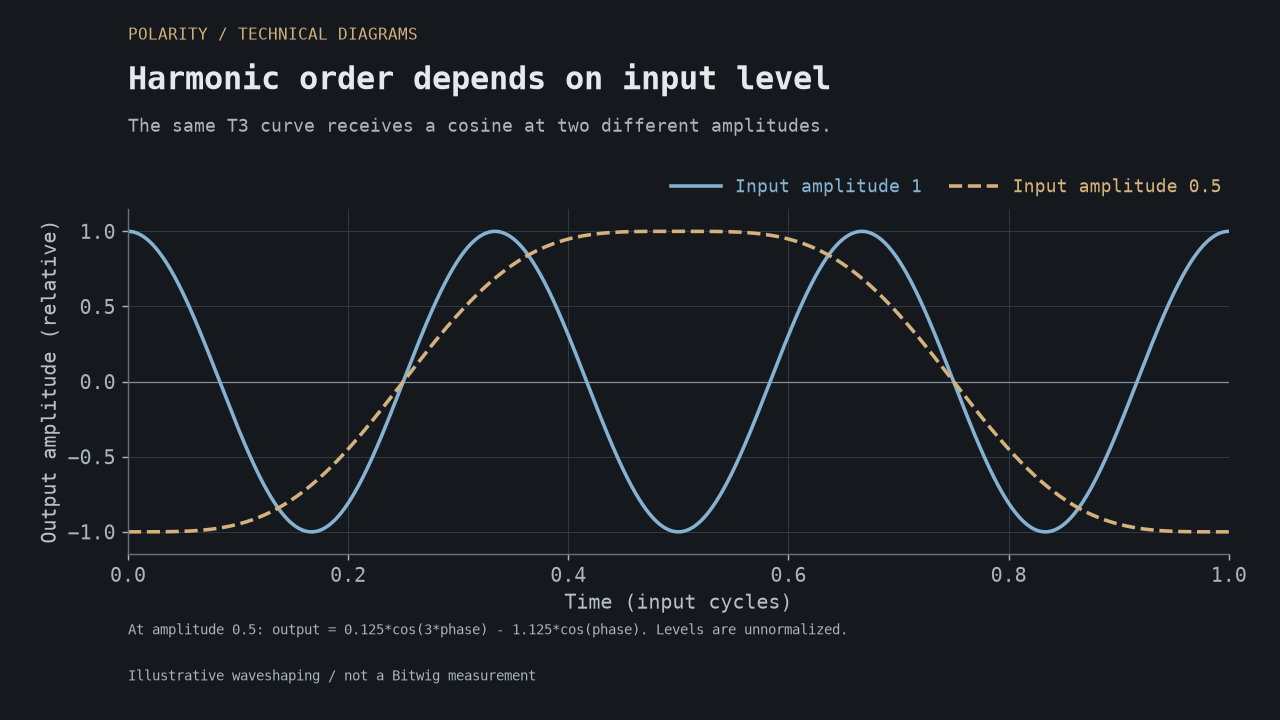
Analytical example using T3(x) = 4x^3 - 3x. At input amplitude 1, the result is the third harmonic. At amplitude 0.5, the result contains the fundamental as well. Output levels are unnormalized.
Remove DC is not a general DC-removal filter. The calculation subtracts the curve's value at zero input. That makes zero input return zero, but does not ensure that an arbitrary output signal has a zero average. For example, the order-2 curve with this subtraction becomes 2*x*x within its input range; a sine through that curve still has a positive average. Recheck both level and DC when changing Order or this option.
Quantizer: choose the size of the steps #
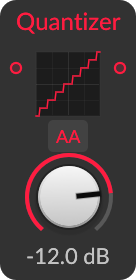
Quantizer rounds amplitude onto a grid of discrete levels. Its Step Size runs from -60 to 0 dB: these values specify the amplitude of a step, rather than a literal bit-depth setting. Moving toward 0 dB makes the steps larger.
This is separate from reducing sample rate. The useful interaction is between step size and the level of the source. A quieter signal spans fewer steps, so its decay can change character even with Step Size held still.
Try this: use a percussion sound with a long tail. Start with small steps and increase Step Size until the tail becomes coarse or drops away. Then adjust the input level instead, listening to how much of the original decay remains. Compare Anti-aliasing on and off at the same settings.
Diode: use bias as a tone control #
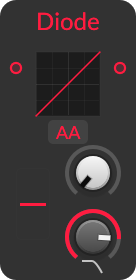
Diode combines Drive, Bias, and Low-pass Cutoff Frequency. Bias lets you explore asymmetry, while cutoff provides another way to change the resulting tone. Bitwig describes it as a circuit model, without naming a particular pedal or synthesizer. Bitwig's Diode reference
Try this: hold a lead note, start with Bias centered, and find a Drive setting you like. Move Bias gently in both directions while keeping the output level comparable. Then adjust cutoff and listen for the balance between edge and body.
Compare this with simply driving Hard Clip harder. Changing the relationship between the waveform's halves gives you another decision beyond the amount of clipping.
Rectifier: work on each half of the waveform #
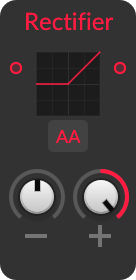
Rectifier provides separate scaling controls for positive and negative signal excursions. This makes it useful for asymmetric audio shaping and for changing a bipolar modulation signal.
Try this: feed it a sine and watch the output on an oscilloscope. Adjust one side until that half disappears, then explore flipping it across zero. Find the full-wave shape where both halves point in the same direction. Its repeating pattern occurs twice per input cycle, with a DC component added as well.
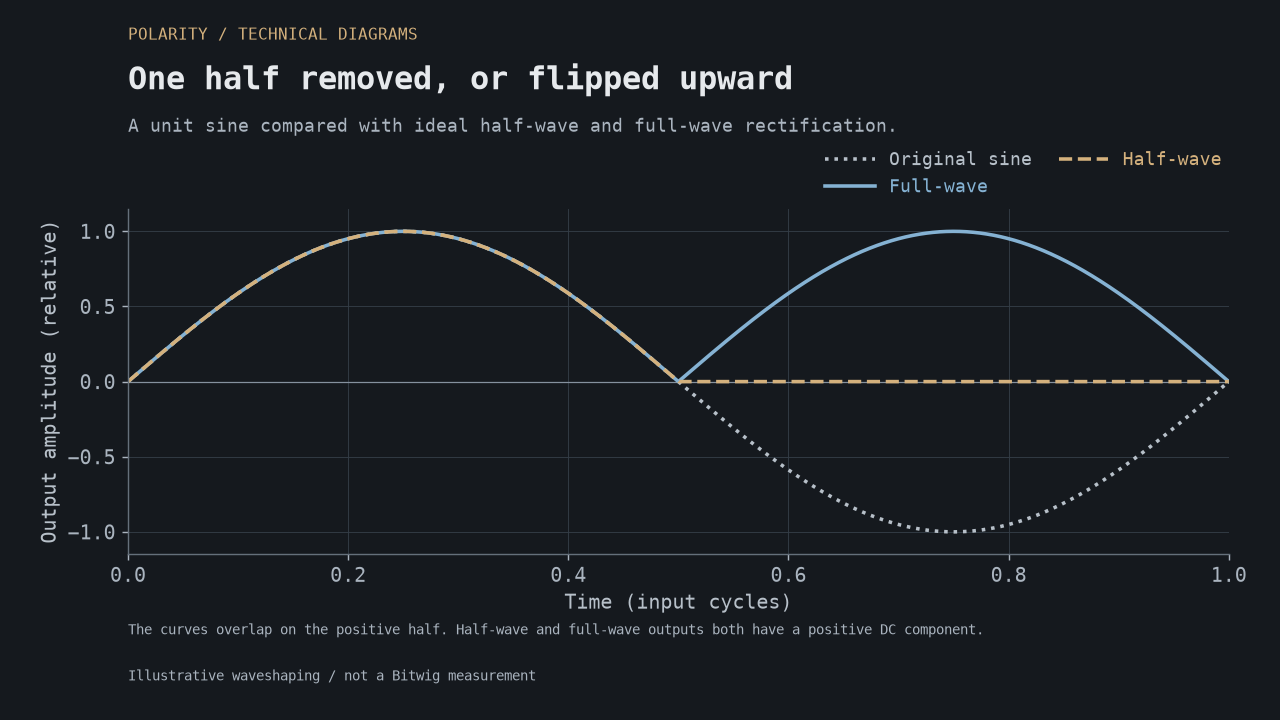
Illustrative rectification. Half-wave removes the negative half; full-wave flips it upward. The full-wave pattern repeats twice per original cycle, but remains offset above zero.
Use the waveform display to check the result, especially when changing polarity settings. For modulation, decide whether you want a one-sided signal. For audio, check the DC component and the result of blending it with the original.
Saturator: shape quiet and loud regions separately #
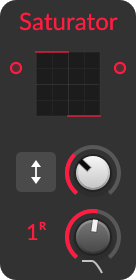
Saturator offers Quiet and Loud threshold, amount/ratio, and knee controls, plus Skew adjustments for treating the two polarities differently. This gives you more control over the curve than a single Drive knob. The Grid module is related to the standalone Saturator device. Bitwig's Saturator reference
Think of Quiet and Loud as regions of the waveform's instantaneous level. These names do not make Saturator a conventional compressor with attack and release timing.
Try this: use a drum loop, keep the Quiet and Skew controls steady, and adjust the Loud threshold and knee. Listen to the attack and body. Once that balance works, explore the Quiet controls while paying attention to tails and background texture. Add asymmetry last so each change is easy to identify.
Saturator's Drive scale differs from the 0-40 dB shapers: its declared gain reaches approximately +28.63 dB, with 0 dB one-third of the way through the control range. Its Normalize option does not guarantee equal perceived loudness. Use Makeup Gain and your ears to compare settings.
The low-pass section also offers paired G/R choices numbered 1 through 6, plus Off. Compare those modes with the shaping controls held still; do not assume their effect is interchangeable with placing a conventional low-pass after the device.
My Saturator walkthrough shows the curve-editing workflow.
Transfer: draw the missing curve #
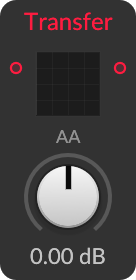
Transfer is the choice when you can describe the mapping you want more clearly than you can choose a preset shaper. Its editable curve relates incoming amplitude to outgoing amplitude; the horizontal axis is not time.
Try this: begin with a straight diagonal, keep the center region unchanged, and flatten the outer sections. Compare a gradual bend with an abrupt corner. Then draw one reversal and hear how clipping becomes folding. Transfer's -24 to +24 dB Drive lets you move the source into or away from those regions.
You can save and load BWCURVE shapes. Check the bipolar/unipolar setting when reusing a curve: it changes the input domain, and unipolar processing offers Clip and Reflect choices for negative input. Bitwig's Transfer reference
The Transfer tutorial walks through drawing and listening to these changes.
Push: audition soft clipping quickly #
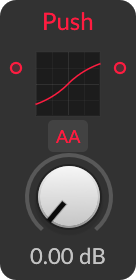
Push is a Character soft clipper with Drive as its main control. Use it when you want to audition a fixed curve without first designing one in Saturator or Transfer.
Try this: put Push on a drum loop and find a setting where the body becomes more prominent. Compensate the output level and listen to the hi-hats as well as the kick and snare. Compare Hard Clip to decide how much abrupt peak flattening the loop can take.
Keep the useful setting in context: a denser solo loop may leave less room for the rest of the arrangement.
Heat: explore the clipping range #
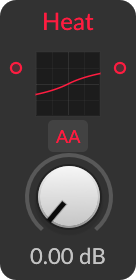
Heat is an S-shaped Character clipper. Its appeal is the transition you can explore with Drive, from lighter changes toward stronger shaping. Bitwig's Character shaper descriptions
Try this: use the same bass phrase for Heat and Push. Match the output levels separately, then compare a restrained setting with a more driven one. Listen to the note's onset, sustained buzz, and how clearly its pitch remains audible.
Do not use equal Drive positions as proof that the comparison is fair. The shapers have different curves and gain behavior, so the useful setting may be in a different place for each.
Soar: let the decay travel through a fold #
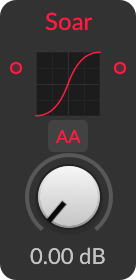
Soar takes a soft-folding approach. Instead of only pressing peaks toward a ceiling, folding can bring lower-amplitude parts forward relative to larger excursions. That makes a changing input level especially interesting.
Try this: place a short amplitude envelope before Soar and use a sine oscillator. Increase Drive, listening to the tone as the note decays through different input levels. Then move the envelope after Soar and compare the more consistent shaping over the note.
This is useful for plucks and synthetic percussion. Treat a dip in level as part of finding the sound; raising Drive through a fold is not guaranteed to make every part of the waveform louder.
Howl: move between regions of emphasis #
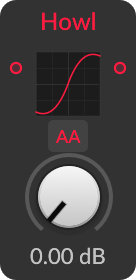
Howl is another Character folder, with a different pattern of emphasis across the input range. It is useful to audition when a held note needs movement from the shaping itself.
Try this: hold a triangle bass and sweep Drive slowly. Listen for positions where the body recedes and others where a useful edge appears. Choose a small range between two interesting positions and modulate within it, rather than sweeping the entire control.
Recheck that range at several note pitches. Compare the Anti-aliasing settings with modulation stopped first, then restore the movement; a static curve alone does not describe every aspect of the processing.
Shred: find the useful cancellation #
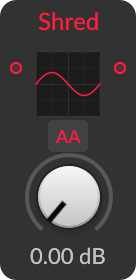
Shred is a nonlinear Character folder suited to exploring cancellation and rough textures. Input level is a creative control here: different regions can emphasize or reduce different parts of a waveform.
Try this: start with a single sine, make small Drive changes, and find a setting where the result changes sharply. Put a restrained envelope around that region for a short, unstable-sounding layer. Then try a triangle or percussion source.
Avoid treating it as a predictable limiter. If the fundamental disappears from the part, reduce Drive or try blending a small amount of the shaped signal with the dry source. Listen to that blend carefully; the two paths can cancel as well as reinforce each other.
Curve: make modulation fit the destination #
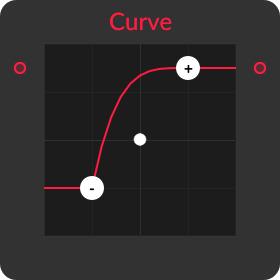
Curve is the fifteenth Grid shaper and is not in Filter+'s shaper menu. It provides In Low, In High, Out Low, Out High, and Bend controls for remapping a range.
Try this: take a unipolar envelope and set the input endpoints to its range. Set the output endpoints to the useful modulation span, then adjust Bend so the beginning or end of the gesture gets more emphasis.
Use it when the movement is right but its response feels wrong. Transfer is useful when you need an arbitrary drawn mapping; Curve is convenient when endpoints and one bend describe the job.
Shaper before or after the filter? #
Shaper then filter lets you generate harmonics and then reduce or emphasize parts of the result. Filter then shaper changes what reaches the nonlinear stage; the shaper can generate new upper harmonics after the filter has removed some of the original ones.
Try this: build both orders in FX Grid with the same saw, shaper, and low-pass settings. Keep filter resonance and drive modest. Sweep cutoff and compare the remaining buzz. Then level-match again: changing the signal entering the shaper also changes how strongly it is driven.
Filter+'s main path is audio input -> waveshaper -> filter. Its Pre FX and Post FX slots let you add processing around that path; converting to FX Grid provides patching control. Bitwig's Filter+ routing reference
How to compare shapers without fooling yourself #
Use the same source and turn off modulation for the first pass. In FX Grid, keep downstream output clipping out of the comparison so you can hear the selected shaper's contribution.
- Start with a sine or triangle. Compare several input levels and listen to the new tone.
- Use a short note. Move its envelope before and after the shaper to hear how the decay changes the processing.
- Try the actual part. A chord, bass phrase, and drum loop stress a shaper differently.
- Match output loudness after each change. Check both the peaks and perceived level; automatic compensation is only a starting point.
- Restore modulation and check the arrangement. Listen for the attack, fundamental, upper detail, and space left for other instruments.
Save useful settings together with their source level. Drive alone does not describe how hard a shaper is working.
What about aliasing and CPU? #
Waveshaping can generate harmonics above half the sampling rate. In a sampled system, those can fold back into the audible spectrum as aliasing. Antialiasing methods reduce these artifacts during the nonlinear processing. A low-pass afterward cannot selectively remove artifacts that have already folded into the wanted frequency range. Parker, Zavalishin and Le Bivic's waveshaping paper
Where a shaper provides Anti-aliasing, compare it on exposed high notes and sharp transients as well as in the full part. Keep source level, Drive, and modulation fixed. Listen for changes in upper detail and attack, then decide which result suits the sound.
For CPU, compare the same patch at the same sample rate, buffer size, voice count, and release time. Voice stacking and long overlapping notes can multiply the work. Use Bitwig's DSP meter for your actual patch; a module's name or a single transfer-curve picture is not a performance ranking.