Posts tagged with Mixing
Here you can find all posts on the site tagged with Mixing.
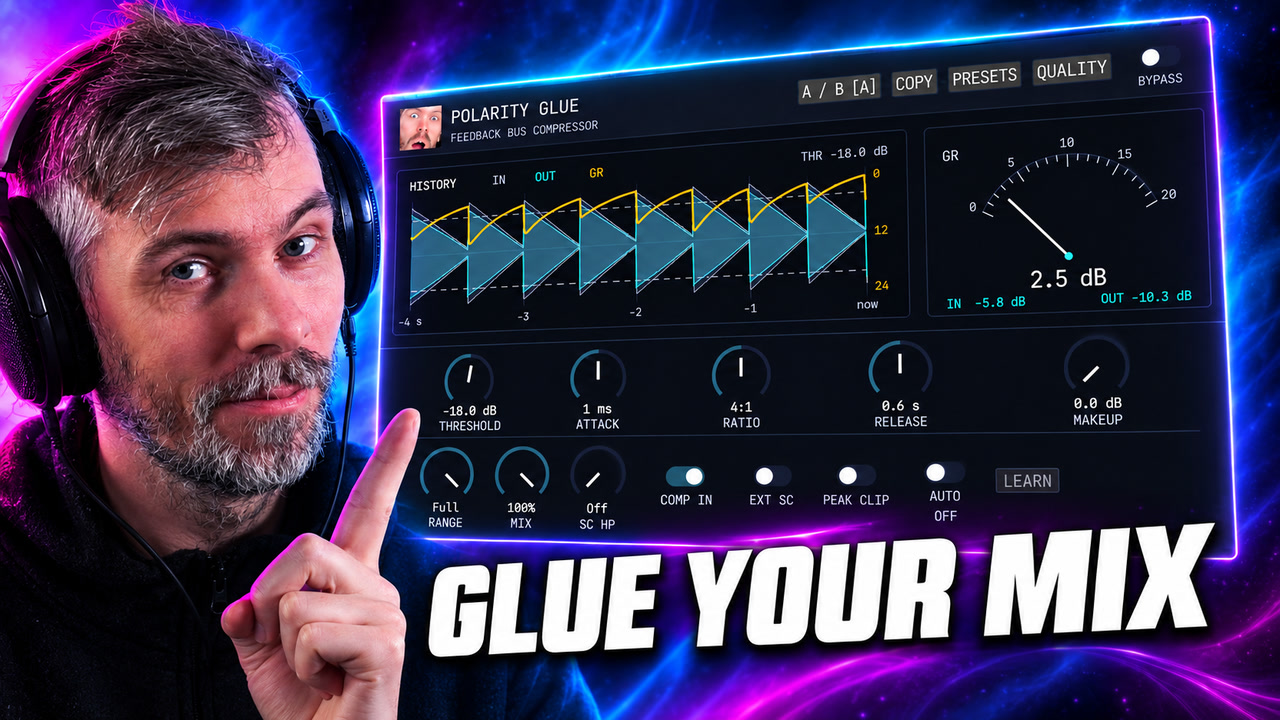
Polarity Glue is a free SSL-inspired feedback bus compressor for Windows, macOS, and Linux, with Auto Makeup, parallel mix, waveform history, sidechain control, and output clipping.

Polarity MD update adds a native GUI, linear-phase crossovers, per-band clip thresholds, and better scaling for faster, clearer multiband compression.

The Melda MMatcher EQ plugin is a powerful tool for achieving consistent frequency balance across tracks by allowing you to create and use custom reference curves, including separate processing for mid and side channels. It excels at quickly identifying mix issues and ensuring a uniform sound, especially when working with albums or EPs. The plugin can be applied not just on masters but also on individual buses like drums or bass, and you can create more reliable reference curves by averaging multiple tracks, with advanced features for fine-tuning and analyzing by stem if desired.

This video explains how to create a dynamic resonance suppressor in Bitwig Studio using native tools, focusing on audio sidechain modulators and flexible EQ or spectral devices for precise, real-time control over harsh or problematic frequencies. The presenter compares Bitwig's workflow to Ableton Live, highlighting Bitwig's superior modulation capabilities and the ability to build unlimited, customizable solutions for tasks like de-essing, noise suppression, or spectral gating. Various creative techniques are shown, from quick envelope-follower sidechaining to advanced spectral or FX grid approaches, allowing users to tailor their workflow for different sounds and preferences.

Do low cuts cause phase problems between kick and bass? This guide explains why the answer depends on context, when high-pass filters actually help, and why blanket mixing rules are usually wrong.

In this Bitwig tutorial, I demonstrate how to use key tracking with EQ5 to dynamically shape harmonics of bass sounds in response to changing notes, a technique not easily achievable with most VST plugins. I also show how to use key tracking and sidechaining to remove clashing frequencies between instruments, all within Bitwig’s flexible modulation system. These methods allow for deep and musical control over your sound design, and presets are available for download on my GitHub.

Today I compared three spectral compressors, DSEQ3, Spectral Compressor, and Spectraft, explaining my preferences, typical use cases, and cautioning against overuse due to their potential to strip music of its character. I prefer DSEQ3 for its smart AI features, custom threshold curves, and affordability, but use Spectral Compressor mostly for spectral sidechaining and find Spectraft to be the most versatile, albeit pricey. Ultimately, I advise subtlety with these tools, emphasizing that a well-balanced mix done at the track level always sounds better than heavily processing the master.

In this video, I demonstrate a unique technique in Bitwig using pre-emphasis and de-emphasis with tilt EQs to mimic multi-band limiting and achieve more balanced loudness across frequency ranges, without traditional band splitting. By tilting the analyzing signal fed into auto-levelers or limiters, you can shift how loudness is controlled across your mix, changing the tonal balance solely through volume adjustments. This approach allows for more natural and flexible mixdowns and can be applied not just to limiting but also to compression, reverb, and other effects, potentially streamlining your workflow and achieving more transparent results.

Learn what crest factor means in mixing and mastering, how to measure compression, and how to compare track dynamics more accurately.

In this video, I demonstrate how to use expansion to make drum samples from libraries fit better in a mix by stretching the dynamic range. Using Bitwig Studio, I highlight methods like the dynamics module, compressor plus, and transfer curve to enhance the groove and dynamics of over-compressed samples. This approach helps create a cohesive mix where all sounds blend seamlessly.

In this video, I demonstrate a simple and straightforward method to maintain consistent volume levels when using an EQ on a track, by using a grid patch with a follower to match the input and output volumes. I also showcase how this technique can be applied creatively across multiple tracks to dynamically modulate volumes or match frequency curves using band-splitting. Lastly, I emphasize the versatility and practicality of this approach for enhancing mixes and provide a preset download for convenience.

In my video, I demonstrated how to use the Oculus Spatializer plugin to create immersive spatial sounds by positioning audio sources around the listener's head using headphones for best effect. I showed how layering, stretching, and positioning sounds can craft a wide, binaural soundscape, enhancing pads and drones with increased spatial depth. The plugin is free, and I shared a link in the description for those interested in trying it out.

In this video, I attempted to replicate the Newfangled Audio's Elevate plugin using Bitwig Studio by creating a similar mastering setup with a filter bank, compressor, and clipper. I utilized impulse responses for band splitting, which helped maintain CPU efficiency, and included modular options for compression and limiting to tailor the audio to personal taste. The project file is available for download in the description for viewers to try and provide feedback.
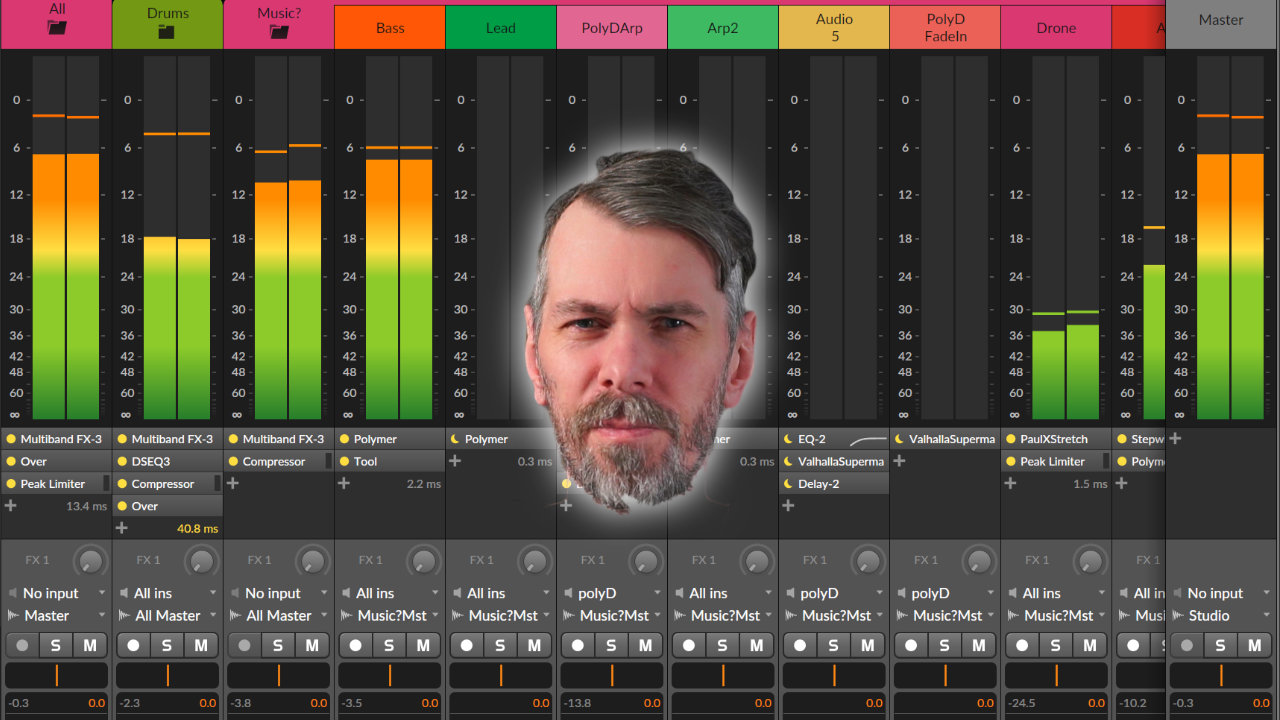
I shared tips to help ease the frustration of mixing and mastering music. I focused on simplifying the process, using reference tracks, prioritizing kick and bass, and embracing the challenges as part of the journey.

In this video, I provide updates to my Hard Clip and Auto Level presets, both of which are now available for free download with new features like LED clipping indicators and improved functionality. I've introduced options such as different clipping modes, band splitting, and a stereo link feature, while addressing phase shift issues and incorporating spectral-based solutions. Additionally, for the Auto Level preset, I added features such as an amount knob and stereo link, and I shared an experimental Auto Level Plus version for quick mastering solutions.

In this video, I rediscovered an old plugin called Curve EQ, which I've had for around 20 years and find invaluable for layering drum loops by using its match EQ feature to remove overlapping frequencies. Instead of constantly adjusting a regular EQ, I've shown how to use Curve EQ to statically match and inverse the frequency spectrum of a simple kick and snare loop with another drum loop, achieving perfect layering without CPU strain. I also expressed a wish for some of these features to be integrated into the main GUI for easier access, and suggested it to the developer, Alexei.

In this video, I explain the concept of ring mod sidechain modulation and demonstrate how to achieve it in Bitwig Studio. I discuss the potential for distortion using this method and suggest using Bitwig's audio sidechain modulator as a cleaner alternative. Additionally, I provide a more advanced setup in Bitwig's FX Grid for precise control, with both presets available in the video description.

In this video, I demonstrated how to clone EQ settings using impulse responses, showing the process with tools like an EQ curve analyzer, Ozone 8 EQ, and a convolution device. By recording the output of the Ozone 8 and using a test tone or Dirac signal, I showcased two methods to replicate the linear phase EQ setting. This technique is useful especially if you don't have a built-in linear phase EQ in your DAW like Bitwig.

In this video, I demonstrate how to split audio signals into multiple frequency ranges without introducing significant phase issues, particularly in Bitwig Studio. While traditional analog-modeled EQs and tools like Ozone 8 introduce phase offsets or latency, I showcase methods such as using the spectral FX frequency split in Bitwig and custom convolution presets to achieve clean splits. I provide these custom presets for free in the description so viewers can experiment and give feedback.

In this video, I attempt to recreate the WIDER 2.0 plug-in by Infected Mushroom inside Bitwig Studio. I demonstrate how the original plug-in works by creating peaks and dips in the frequency spectrum, which cancel out in mono, and then I showcase my own preset that mimics this effect, with added controls for more customization. Finally, I highlight that my preset may sound slightly better and more natural due to the included convolution reverb on the side channel.

In this video, I demonstrate a preset called "Multipressor" that I've created. It functions as a multi-band compressor, allowing for the avoidance of phase issues and frequency dips. The preset offers controls for thresholds, ratio, attack/release, and input gain, as well as the ability to adjust the reaction time and gain reduction of different frequency bands.

I just watched a video where Dave Lindenbank created a compressor inside of the grid, and I took his patch and created my own preset called DOTT (Dave OTT) - a three-band compressor expander. It's completely free to download and it includes band splitters, compressors, expanders, threshold and gain controls, VU meters, and EQ and saturation options. It's a powerful tool for squeezing the signal and I hope you enjoy experimenting with it.

In this video, I demonstrate a workaround in Bitwig Studio 5.2 to achieve volume normalization for instrument tracks and live audio. By misusing the wet gain learn feature on a chain device and using a tool device to measure the input volume, I create a preset that matches the output volume to a desired reference value. This allows for easy normalization without manual adjustments and can be applied to multiple tracks for consistency.

In this video, I explain how I use filters and filter key tracking in my synthesizer sound design. I demonstrate how filters can be used to remove or amplify specific harmonics in a sound, targeting frequencies like the first and second harmonics to enhance bass presence. I also show how key tracking allows filters to follow the frequency of different notes, making the filtering process more precise.

In my new video, I announced that KVR, the popular plug-in website, has released a free local plug-in management solution for Windows and Mac. This application scans your hard drive for VST2, VST3, and CLAP plug-ins, providing a list of all your installed plug-ins. You can synchronize this list with KVR for updates, reviews, and forum discussions.

In my recent video, I received a lot of love, praise, likes, and comments, which warmed my heart. I wanted to continue sharing knowledge about Bitwig Studio and unique ways of eqing. I introduced a visual guide using EQ+ and a loud split device to help identify and adjust frequency distribution, making EQing easier and more efficient.

In this video, I cover three different topics related to EQ techniques. The first is an auto leveler method using bandpass filters and an amplifier to maintain a consistent volume. The second is a multi-band EQ compressor, created by combining an EQ with a grid compressor, allowing for individual frequency control. Lastly, I demonstrate the use of the Loud Split device to selectively affect different frequency ranges in a sound, helpful for removing noise or enhancing specific elements.

In this video, I show a quick tip for mixing and mastering in Bitwig Studio. Instead of constantly moving the spectrum analyzer to compare different elements, I suggest using FX or return busses. By sending different tracks to the spectrum analyzer on separate FX channels, you can easily compare and adjust the frequency distribution of various elements in your mix.

In this video, I share a useful trick in Bitwig Studio for creating evolving sounds. I remind myself to use the XY Instrument container which allows me to load multiple instruments and fade between them. This technique can be applied to various types of sounds and offers a lot of flexibility in terms of modulating and manipulating the fades.

Convert BPM to milliseconds and Hz with note division tables, plus compressor attack/release and delay time tips for any DAW.

In this video, I share my process of creating risers and transitioning effects using the global modulator in Bitwig Studio. I was inspired by UJAM's final boost and Data Life's Endless Smile plugins and wanted to replicate the effects in Bitwig. Instead of using manual automation, I used the curve editor to create a ramp that gradually increases the effect's intensity over time. I demonstrated how to apply this technique to individual tracks, such as chords, bass, and percussion, to create more dynamic and interesting effects with precise control. This technique is a great VST replacement and allows for more creative flexibility in creating risers and sweeps in your music.

In this video, I demonstrated how to create a simple auto-leveling patch in the grid. I used an oscilloscope, a divide or division operation, and a follow-off to average out the audio signal. I also implemented a threshold algorithm to make sure that the auto-leveler doesn't amplify noise annoyingly. This technique works in any modular environment and can be useful for maintaining the same loudness level for a generative grid patch or audio clip.

I created a preset card Hard-Clip for Bitwig Studio to clip the peaks of audio signals without going into the red or having intersample issues. The preset consists of Bit8, initial settings and two tool devices. I explained how to use it and how it can help to make a track sound louder and more percussive. I shared the preset in the description of the video, in my GitHub repository, on bitwig.community/presets and on the Bitwig Discord. I encourage viewers to save money and support my channel by using the link to the Bitwig Store with my code.
More tags to choose from: